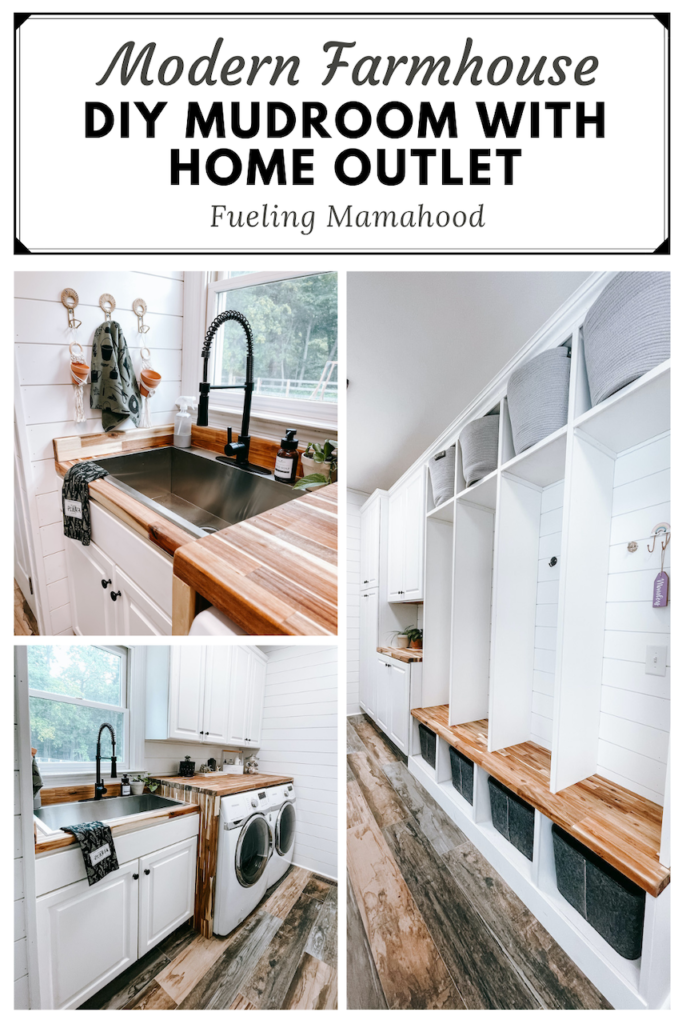
a beautiful farmhouse DIY mudroom makeover on a budget that is timeless with neutral colors and beautiful accents!
this project is sponsored by Home Outlet. as always, all opinions are my own!
{if you’re here to enter to win $500 to Home Outlet Stores, click HERE!}
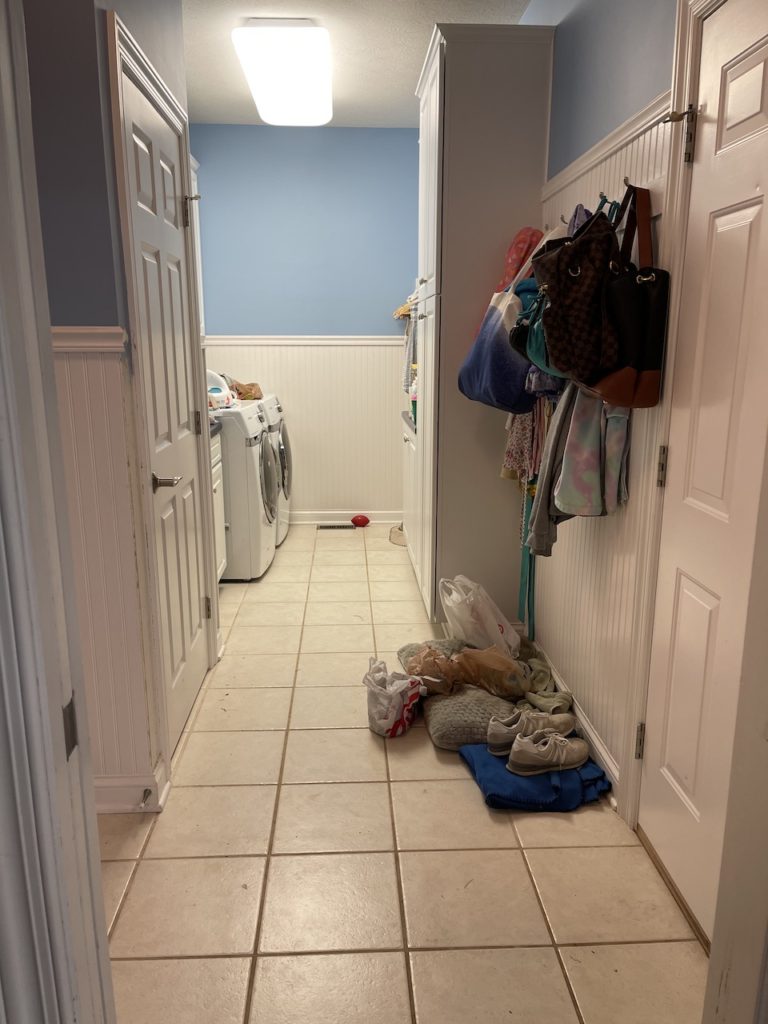
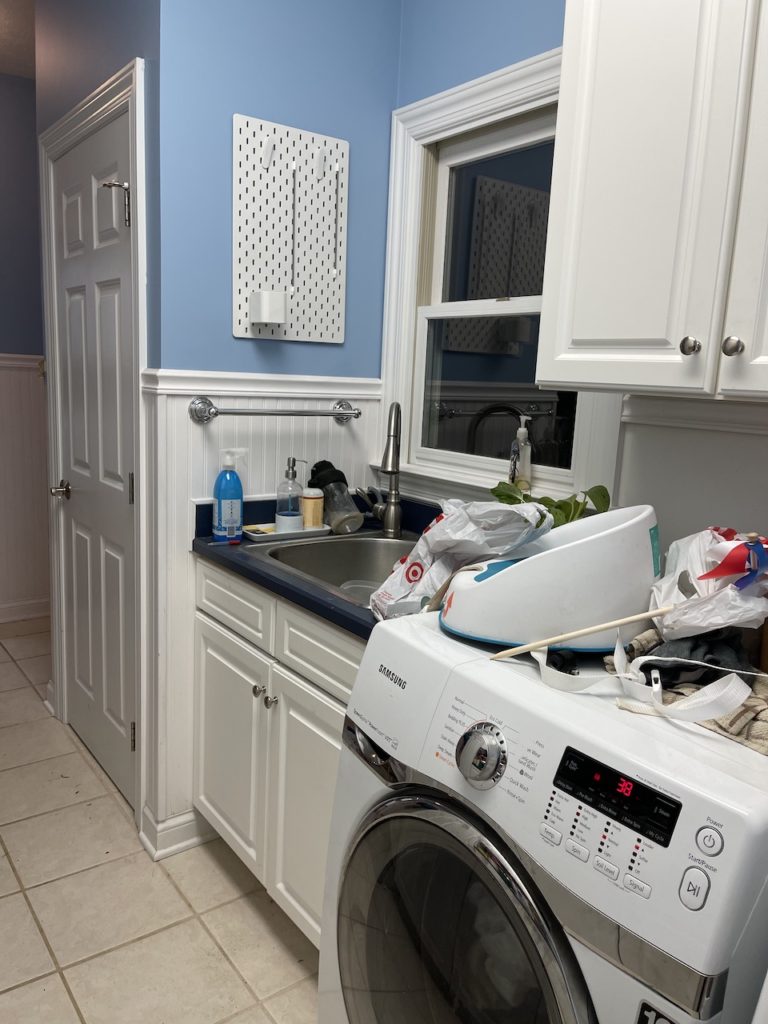
y’all, i can’t even BELIEVE what i’m about to show you is the same room… but of course i’m getting ahead of myself, so let me back up! our mudroom is the main entrance into our home… it’s the place that gathers all the shoes, backpacks, dirt + welcomes our guests more often than our front door. i consider ourselves extremely blessed to have such a beautiful space just next to our kitchen BUT. with 4 kids, a “farmer” husband 2 dogs and 4 cats… it can get a little dirty 😉 our white tile with what was once white grout {only 2 short years ago} needed a major makeover to be able to handle the traffic that came through this space. while it was a nice space before, there were quite a few things i wanted to change to make this space more functional for our family.. and the biggest kicker, we wanted to keep it within a smaller budget.
bring on the mudroom challenge!
wishlist for our farmhouse DIY mudroom
mudroom bench
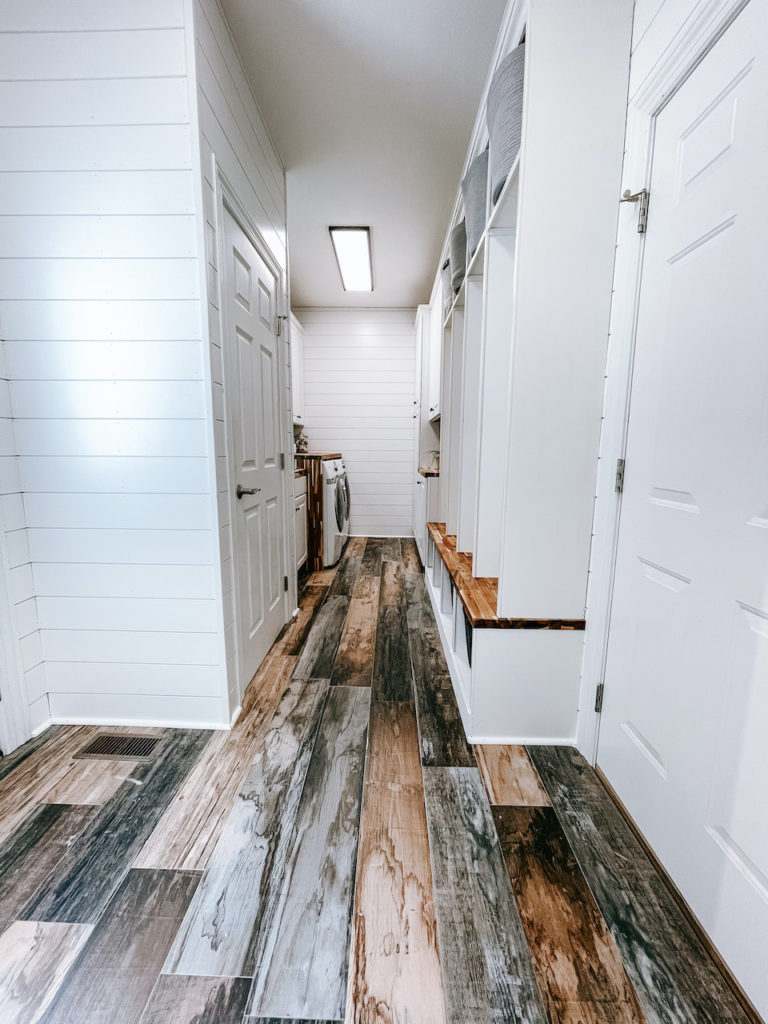
durable + easy-to-clean flooring
lockers with functional storage
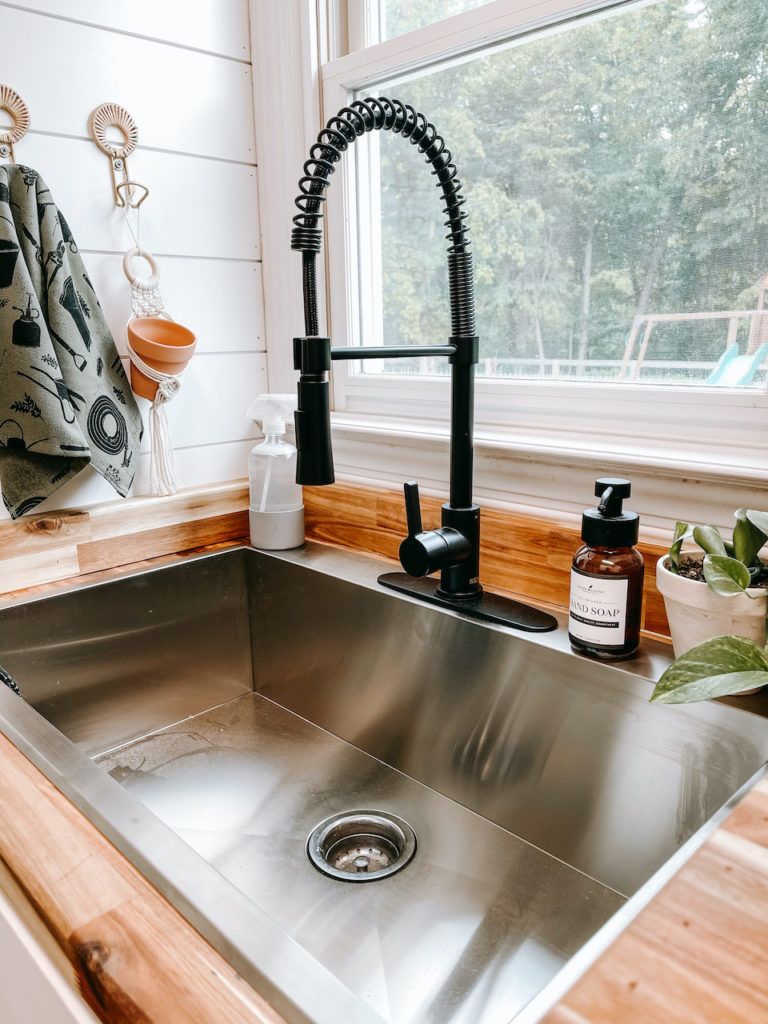
large farmhouse sink
butcher block counters
light, airy space
the two main ways we were able to stay within our budget is by 1. reusing our cabinets and 2., purchasing the quality products we needed at home outlet. home outlet has become my go-to store for quality home improvement products {guaranteed lowest price!} that has me coming back time and time again with their knowledgable and friendly service.
DIY FARMHOUSE MUDROOM BEFORE
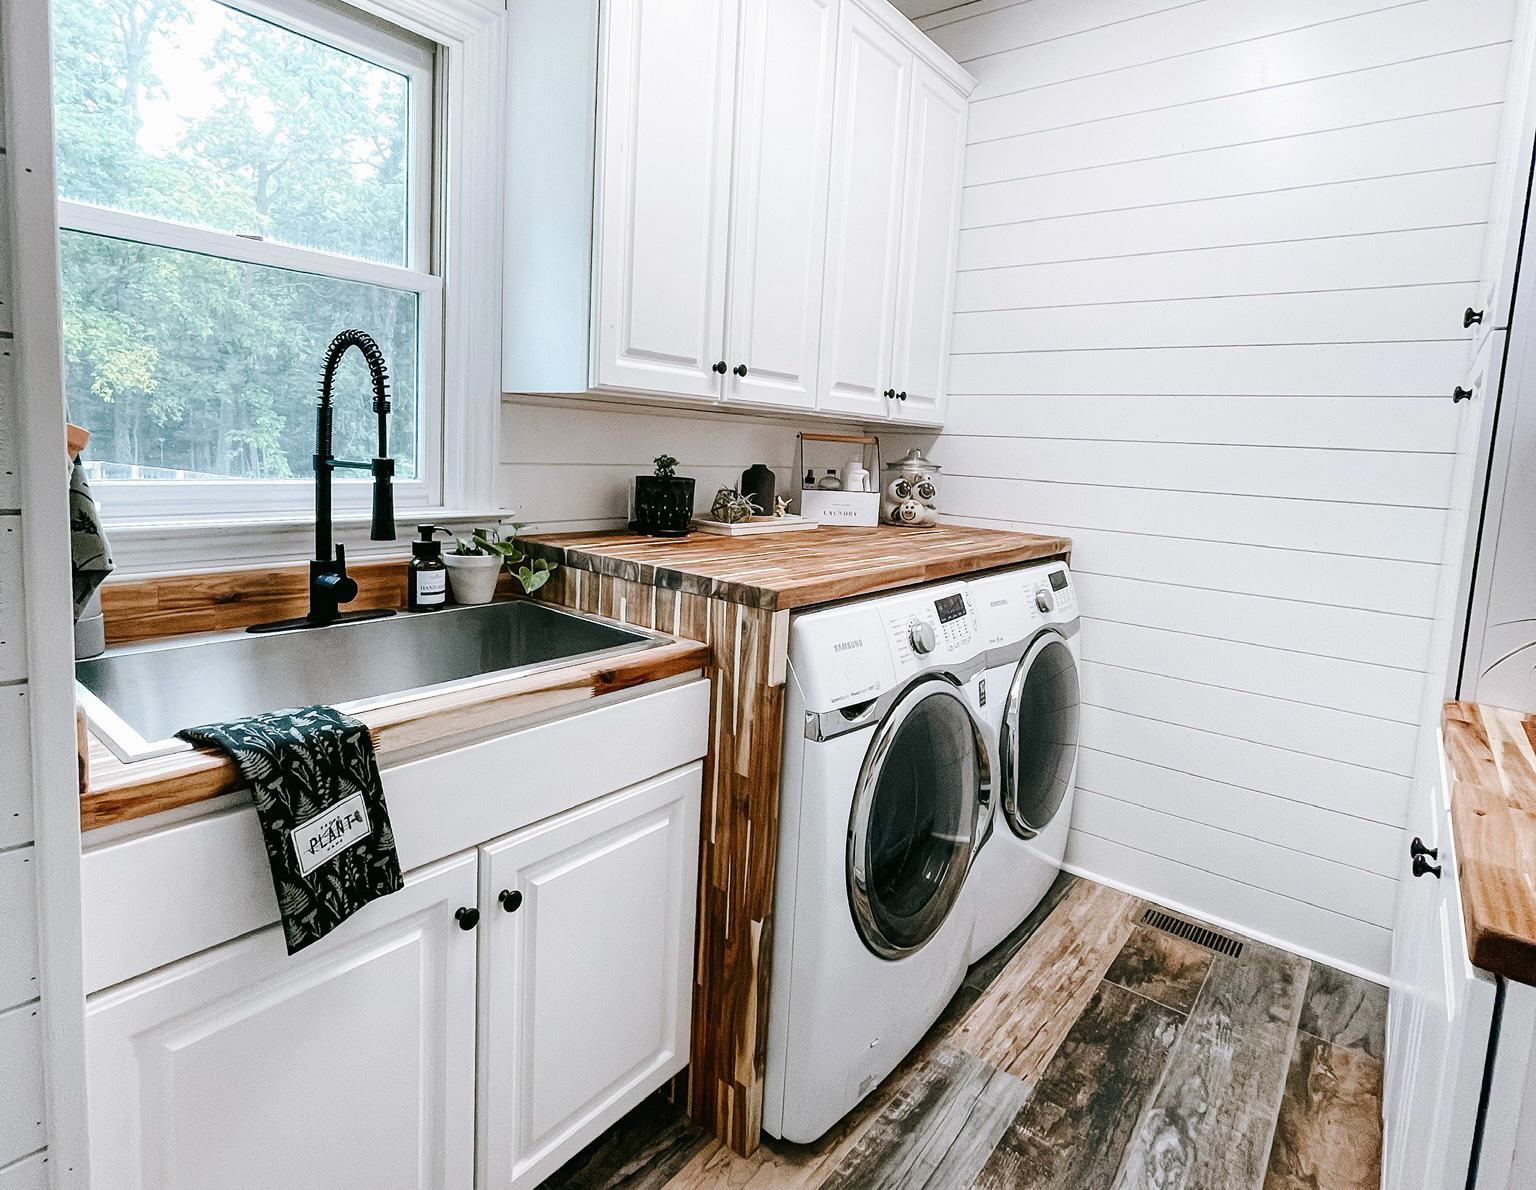
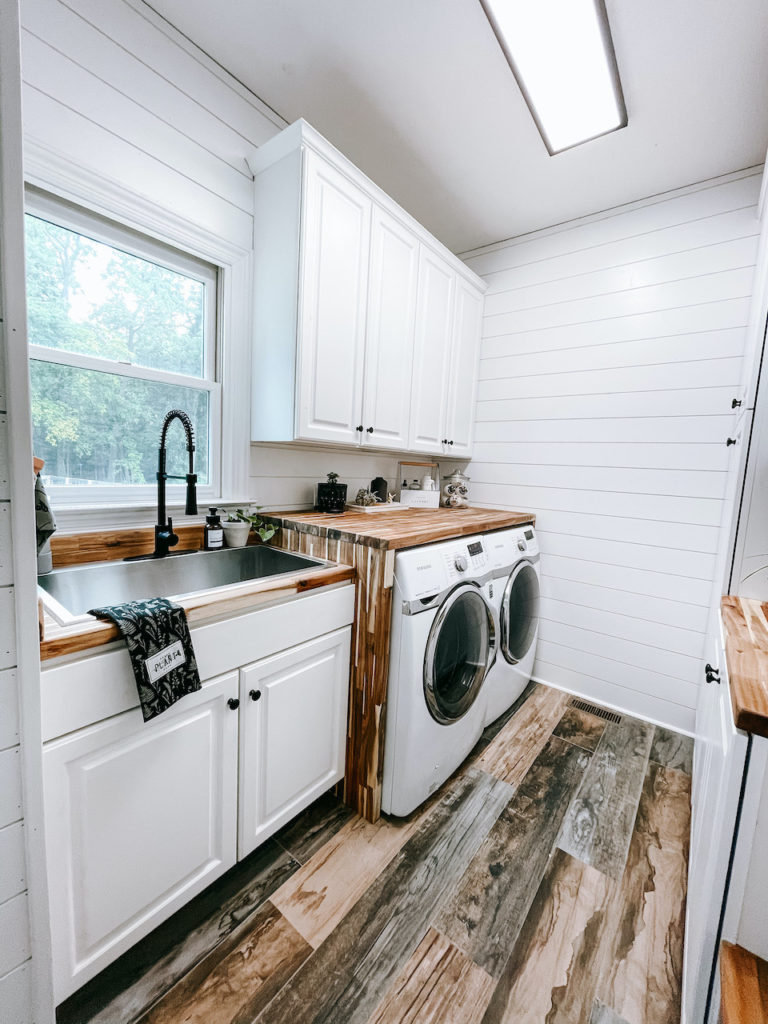
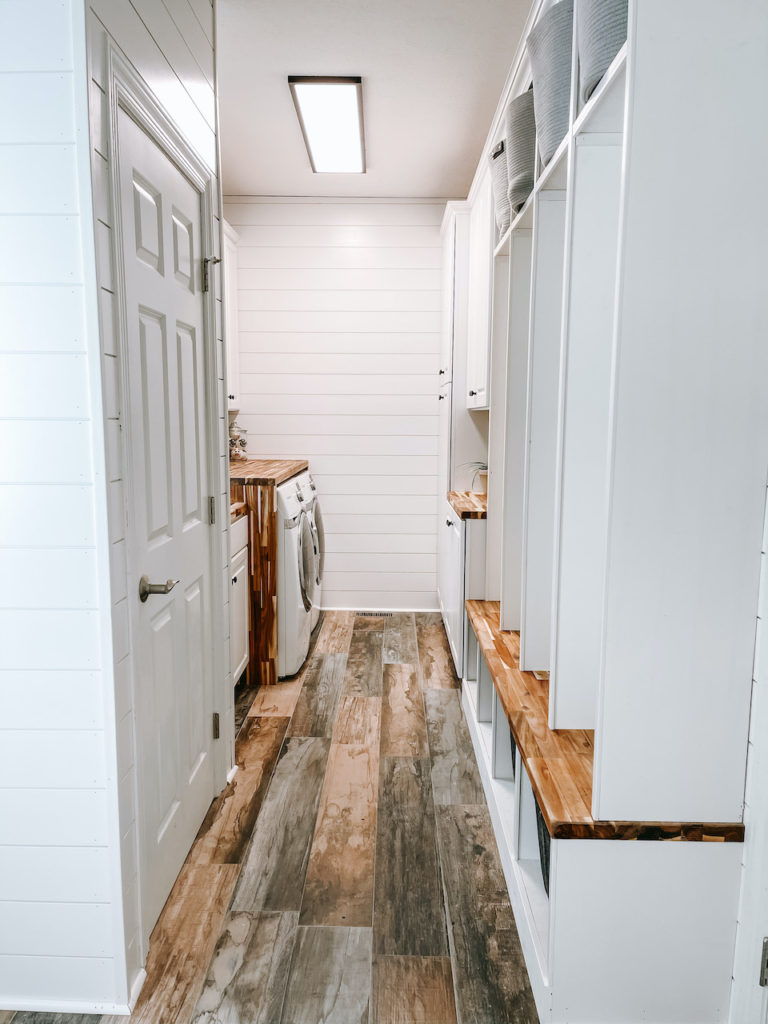
FARMHOUSE SHIPLAP DIY MUDROOM AFTER
just a tiny difference, huh?! 😉

steps for mudroom DIY remodel
the process
step 1: sketch a drawing
before we began this project, we sketched out a rough drawing to plan out exactly what we wanted. we were working within a budget and chose to keep the cabinets, which would have eaten up a lot of our budget. it would take some rearranging the space to be able to put in the mudroom bench like i had wanted, so we ultimately moved the taller cabinet to the back corner which opened up a lot of space for where we wanted to do the lockers.
step 2: remove existing floor + prep walls
next up was removing the existing tile and board + batten! this is a tedious task but to me, this is where i start to get excited! it’s important to remove all of the existing floors and scrape up as much tile + concrete as possible. we also needed to remove the board + batten that was previously on the walls. we didn’t worry about painting or fixing the drywall, knowing that it would all be covered by the shiplap!
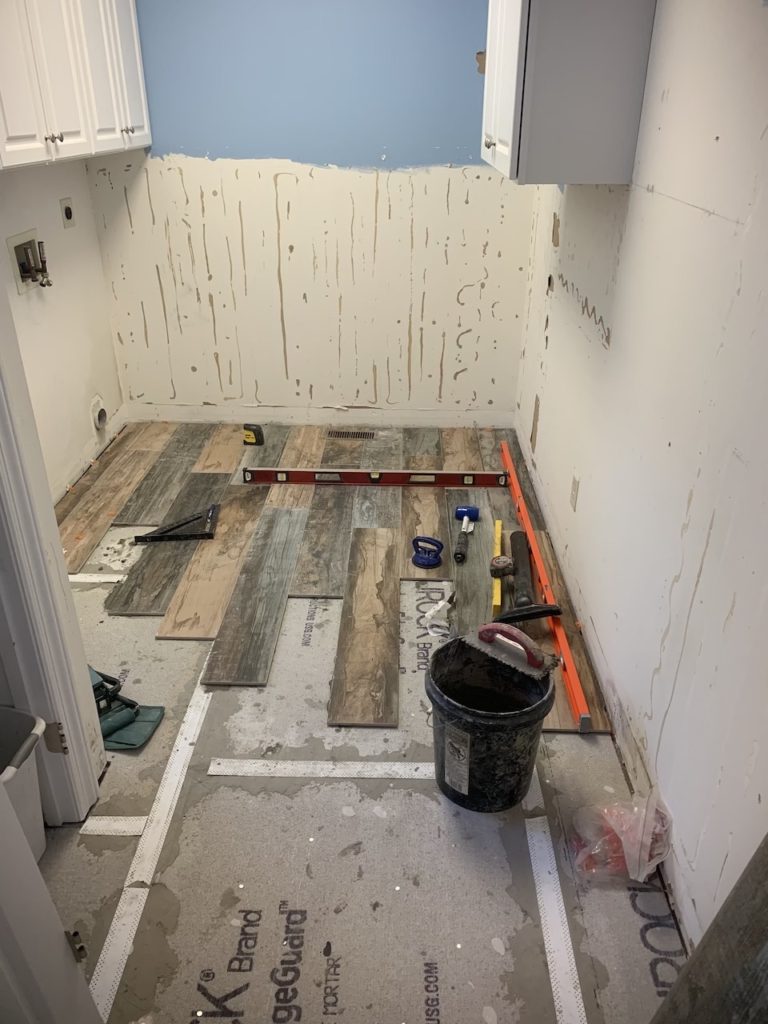
step 3: lay mudroom tile
we chose a tile for the mudroom that would be easy to clean as well as not show every speck of dirt that came into the house. while i had chosen a different tile online, when we went to the store and began discussing our project with Mark, one of the owners of home outlet, he suggested this porcelain tile and I’m SO glad he did! the authentic reproduction of reclaimed barn wood planks was the perfect fit for our house with the durability to withstand traffic and daily use without having to worry about warping or expanding due to moisture!
bonus: we didn’t have to grout + the quality is amazing!
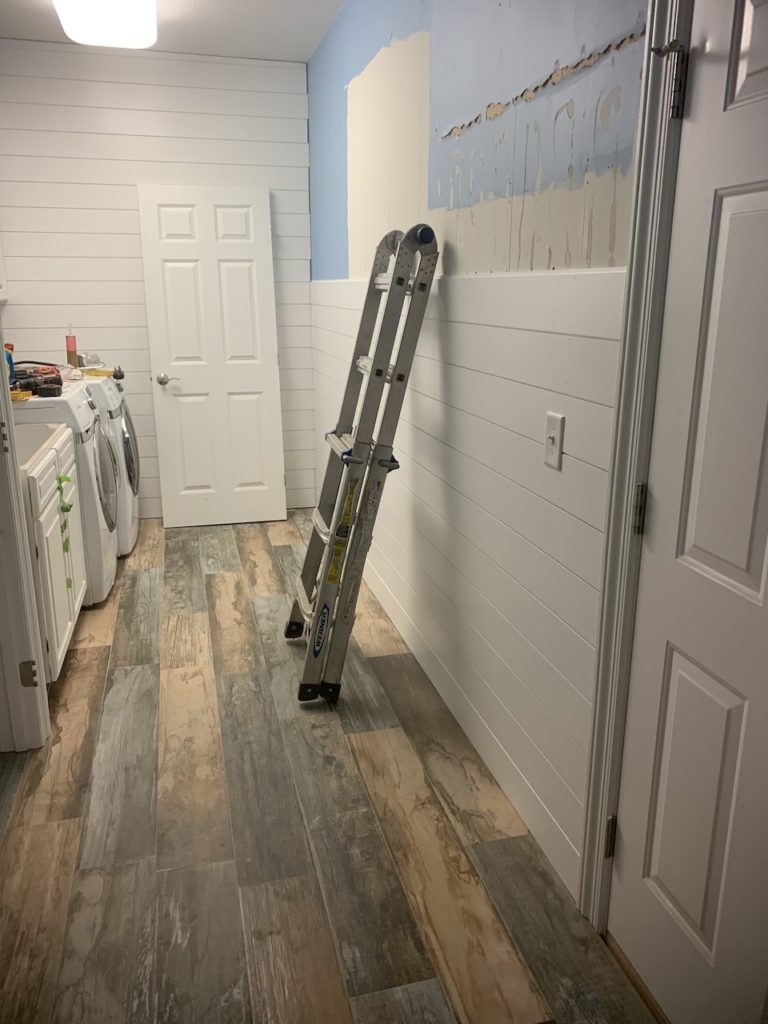
step 4: shiplap mudroom
after the tile was laid, the next step was installing the shiplap on the walls! another time consuming task, we chose to glue + nail the boards in for longevity. we were trying to cover the blue walls so chose to put the shiplap throughout the entire mudroom…. no regrets. it truly brings the entire room together!
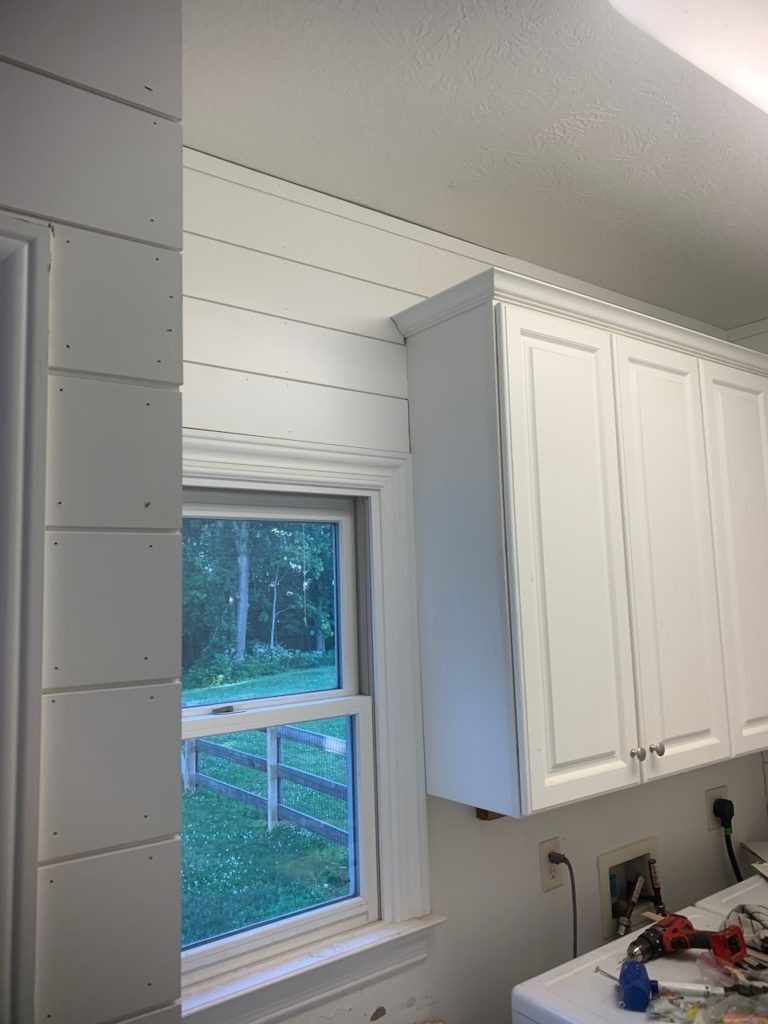
step 5: reinstall cabinets
after the shiplap was installed, the next task was re-hanging and anchoring all the cabinets. this required quite a bit of precision and 2 people to complete the task… but once they were up, we had tons of room to build our locker system!
step 6: cut + stain butcher block
one of the most exciting products in my opinion is this BEAUTIFUL butcher block! i was thrilled when i saw that home outlet carried the acacia butcher block that we would be able to cut to size for our countertops. zach was able to cut the butcher block for the counter tops, to frame the washer + dryer as well as for the bench seat. i chose a stain that would enhance the natural beauty of the wood and tied in beautifully with the rest of the room!
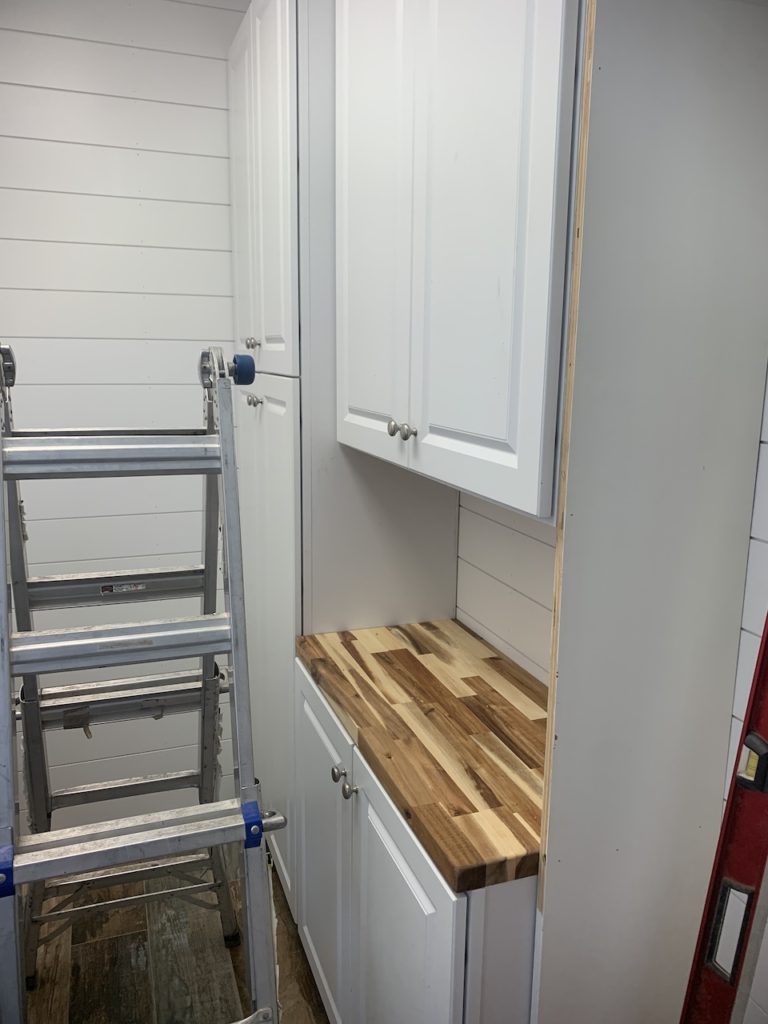
step 7: install counter tops + frame washer/dryer
next up was installing the countertops + casing the frame the washer/dryer. i wanted to have a surface to be able to fold clothes with some extra space. this small update truly brought the room together and made it feel complete! the butcher block from home outlet is so beautiful, it would make a gorgeous addition to any space!
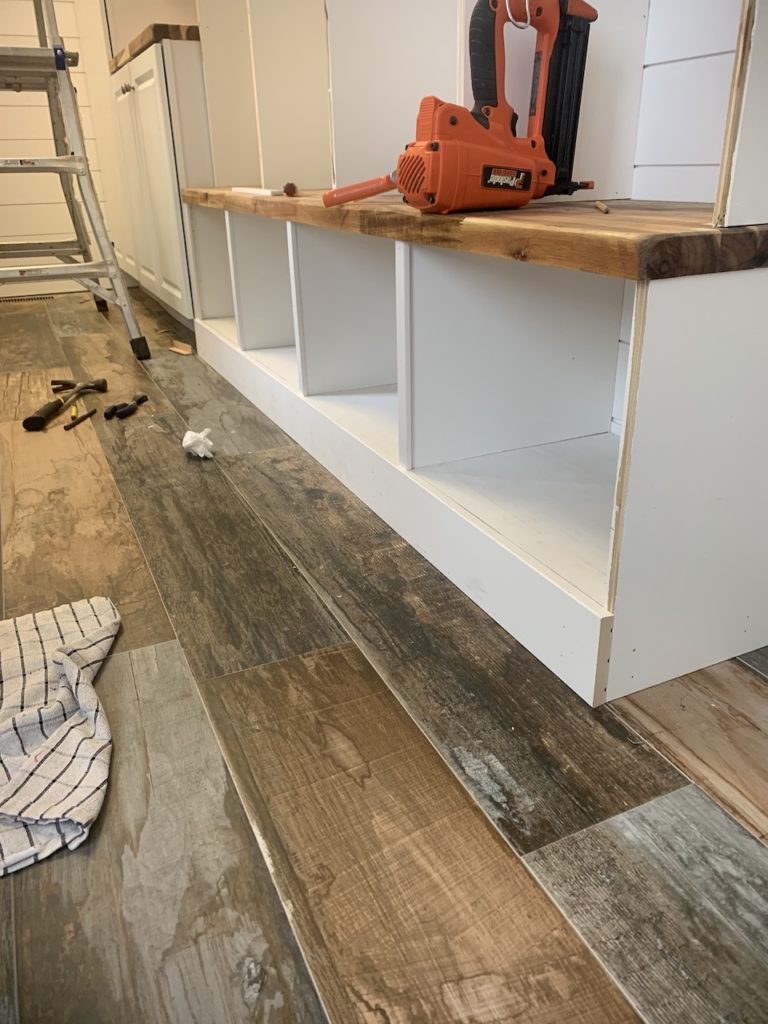
step 8: build bottom frame for lockers
zach was able to build the frame for the lockers out of oak veneer 3/4in plywood. we wanted the lockers to look like they were built-ins so zach elevated the bottom storage and built up from there.
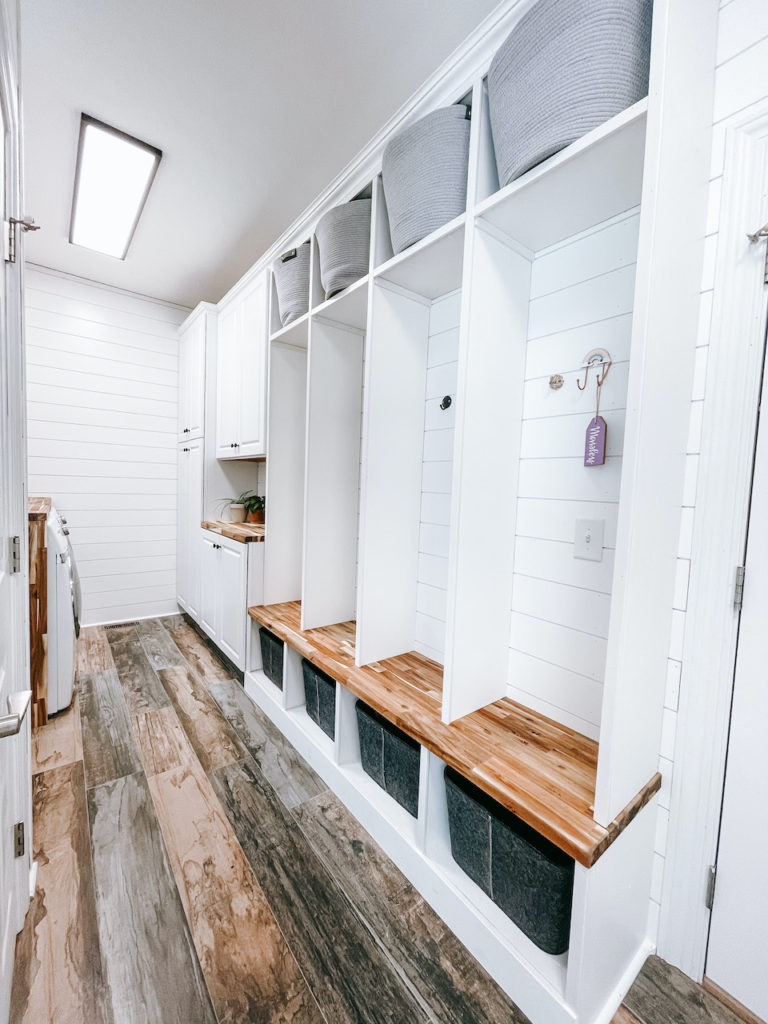
step 9: set bench
with 5 supports {the space I plan to use for shoe storage for the kids}, nails + glue, the butcher block bench {16 inches in depth} sat soundly and won’t be budging. the perfect spot for guests to come in, sit down and have a space to take off their shoes!
step 10: build upper frame for lockers
the top part of the lockers were built in the garage with glue + nails then brought in to sit on top of the bench.
step 11: anchor lockers together + paint
zach anchored the top part of the bench by toenailing the standards to the bench, then anchoring the top plate into the wall. safety was a top priority so we wanted to make sure everything would hold up to daily use + some shenanigans by littles 😉
step 12: final touch up paint + decorate
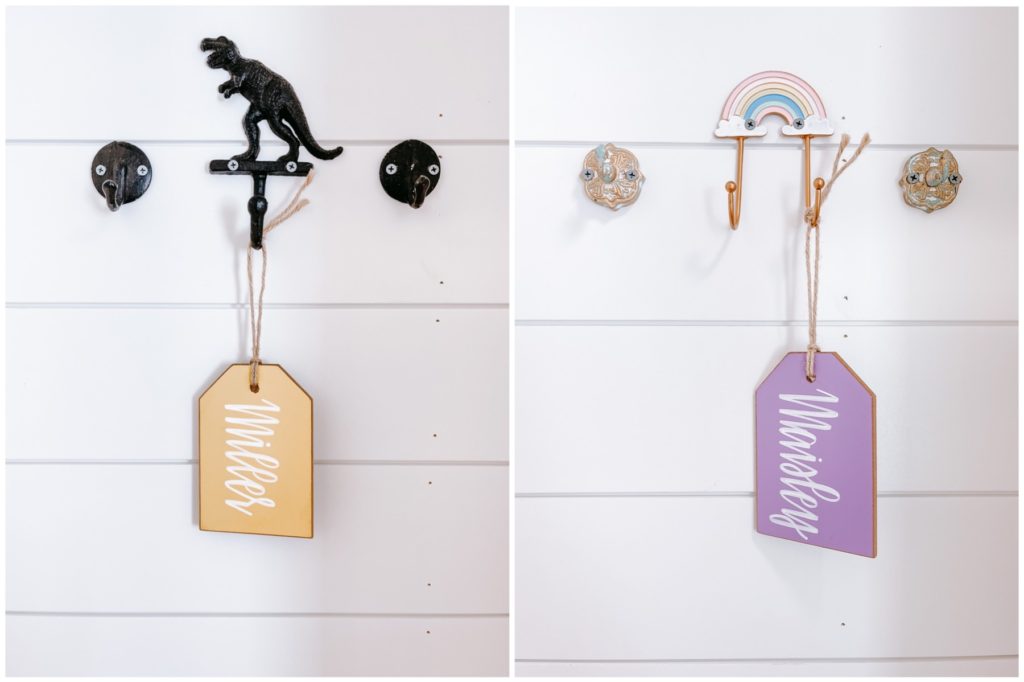
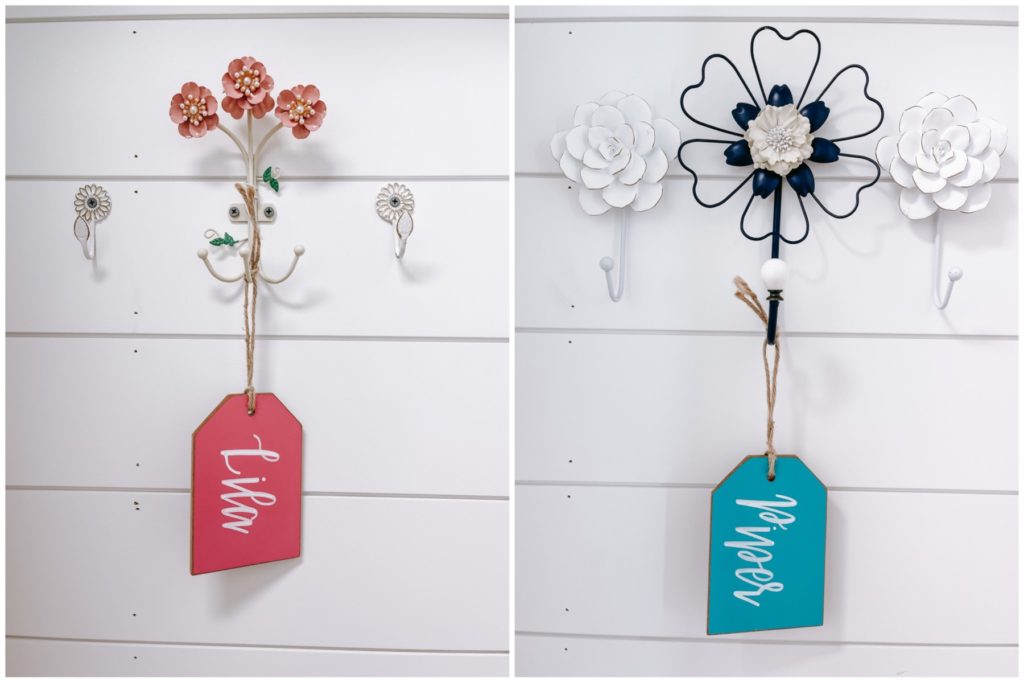
the final steps in this space were to put the finishing touches in! functional decor was my theme here.. my favorite touches are the personalized hooks in the kids’ lockers I found at hobby lobby! the kids appreciate their space while also helping maisley girl identify which locker is hers!
home outlet stores
operating 110 locations in 19 states, home outlet is your go-to discount builder specializing in quality kitchens, baths, flooring, windows and doors at guaranteed lowest prices. home outlet is a 100% employee-owned company, meaning they have a vested interest in providing you with experienced advice and top-notch service. zach and i went together and separately over the last few months and every single time, we had nothing but amazing things to say about our experience. whether you are doing a full remodel or simply need to replace a few knobs, home outlet has you covered and you can rest easy knowing you’re going to have incredible customer service, get all your questions answered and be treated like family.

Facebook | Instagram | Pinterest | Youtube
farmhouse mudroom product list from home outlet
sink {special order}
faucet {special order}
porcelain floor tile
butcher block
knobs
farmhouse mudroom diy details
a huge thank you to home outlet for sponsoring this post!
farmhouse mudroom product list
sink {special order}
faucet {special order}
porcelain floor tile
butcher block
knobs
locker baskets {lower}
upper baskets {upper}
ceiling light
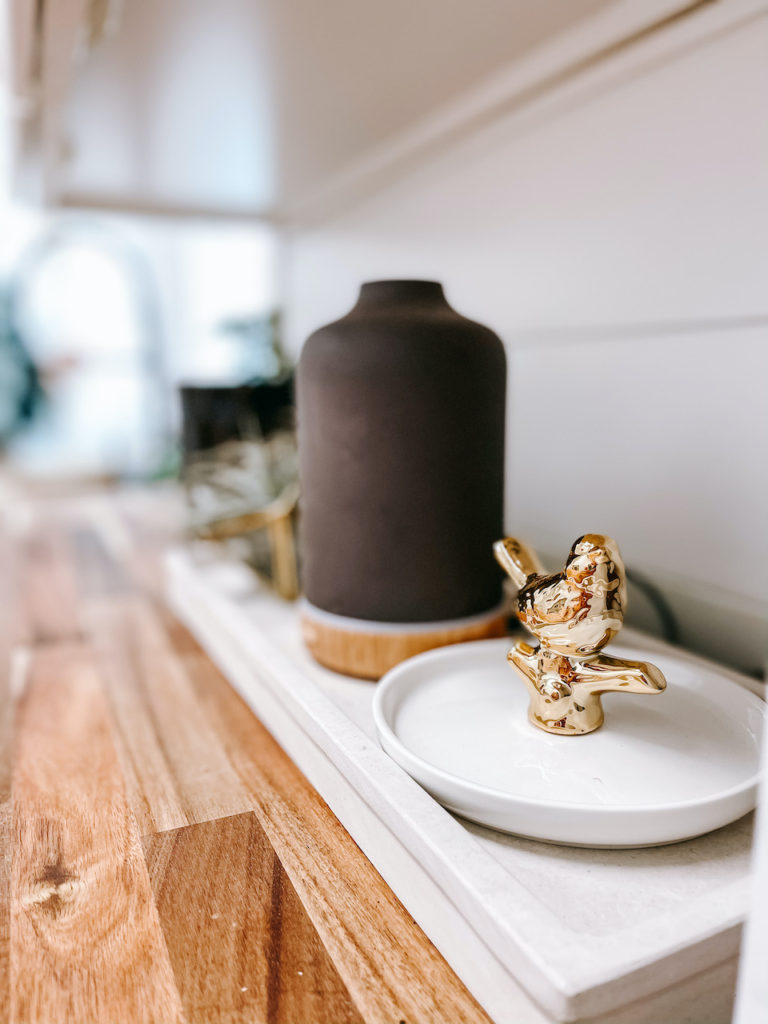
concrete tray on counter
grey rope basket {locker top}
felt basket {locket bottom}
shiplap
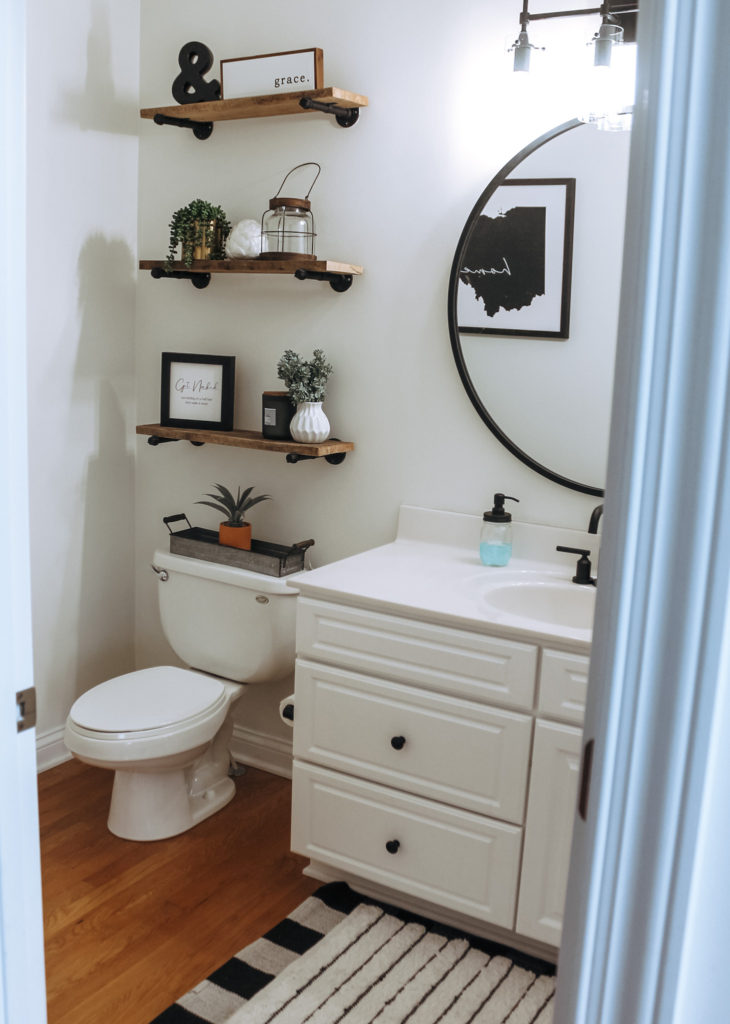
if you loved our mudroom makeover, check out our beautiful farmhouse half bath / powder room makeover!
pin our farmhouse shiplap mudroom makeover!