
it’s only taken me a full year to get this one to you and guys, i’m SO excited to team up with hair food to share with you my side braid tutorial!
my senior year of college the side braid became popular and for the life of me i couldn’t figure out how to do it… as hilarious as this is, i had a dream one night with vivid images of how to do this braid and will never forget waking up, going to the bathroom and being able to do it! i’ve heard multiple times that i ‘do it backwards’ although i have no idea what that even means. over the last few years i’ve learned some tips + tricks and finally nailed down one of my most worn hairstyles…the side braid.
hair food
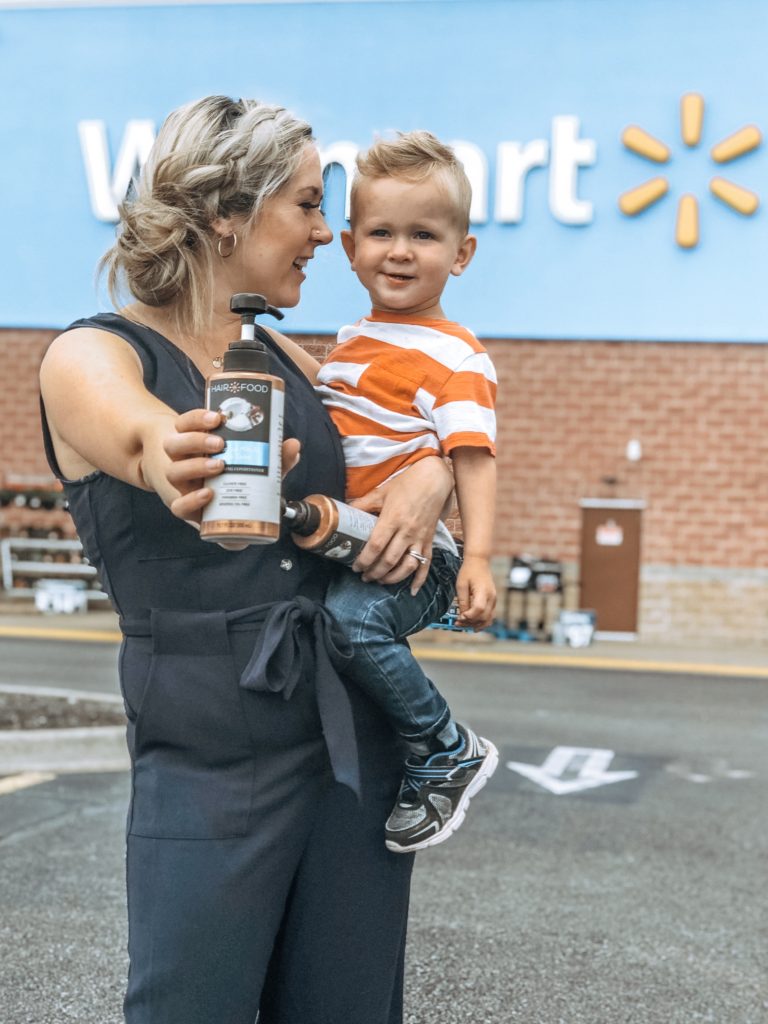
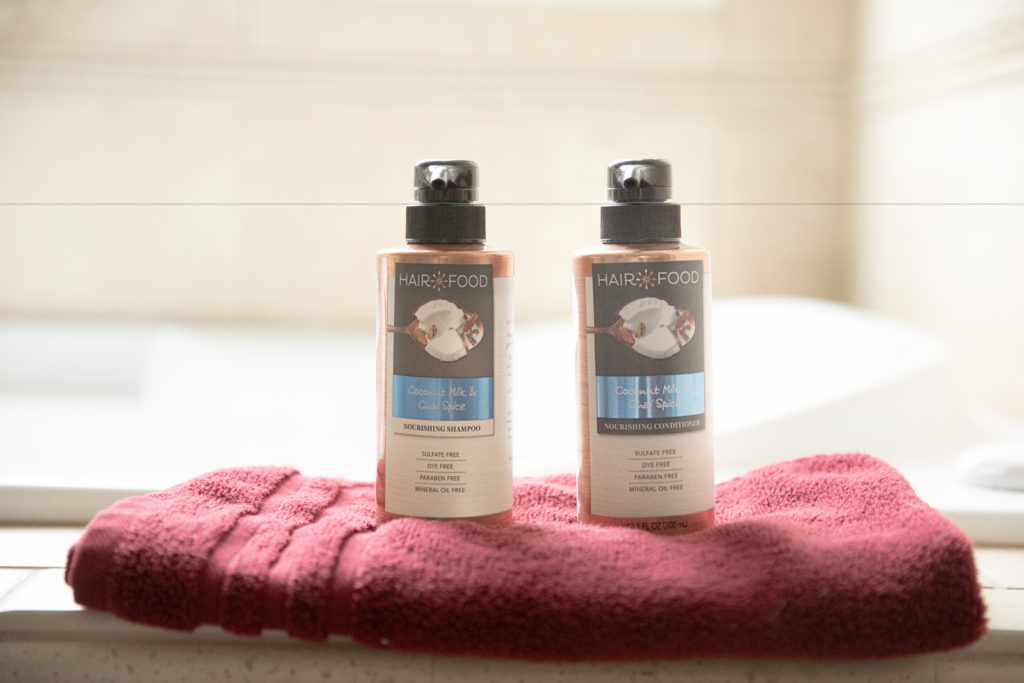
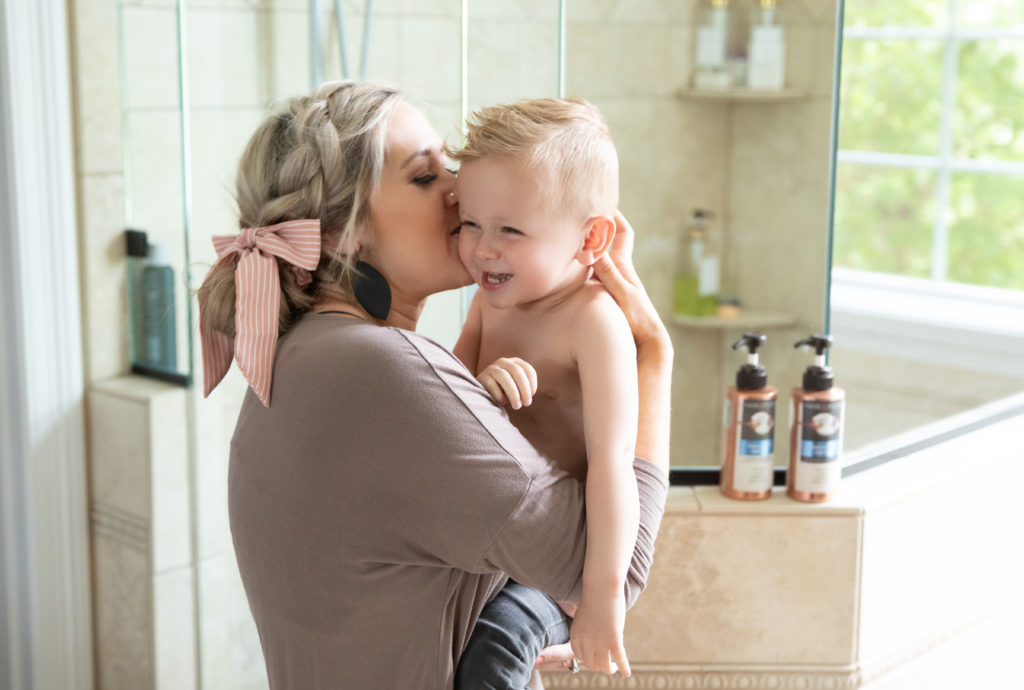
after being introduced to hair food a couple of months ago, i’ve come to love the natural ingredients when it comes to hair care. i’ve reaped the benefits of pure ingredients and products that are free of parbens, mineral oils, sulfates and dyes….and y’all, it smells amazing! this nourishing collection {shampoo, conditioner and hair mask} with coconut milk + chai spice contains a nourishing recipe that hydrates hair to leave it soft, smooth and shiny…as well as protecting it from future damage!! stop by your local walmart to snag the collection today!
side braid tutorial
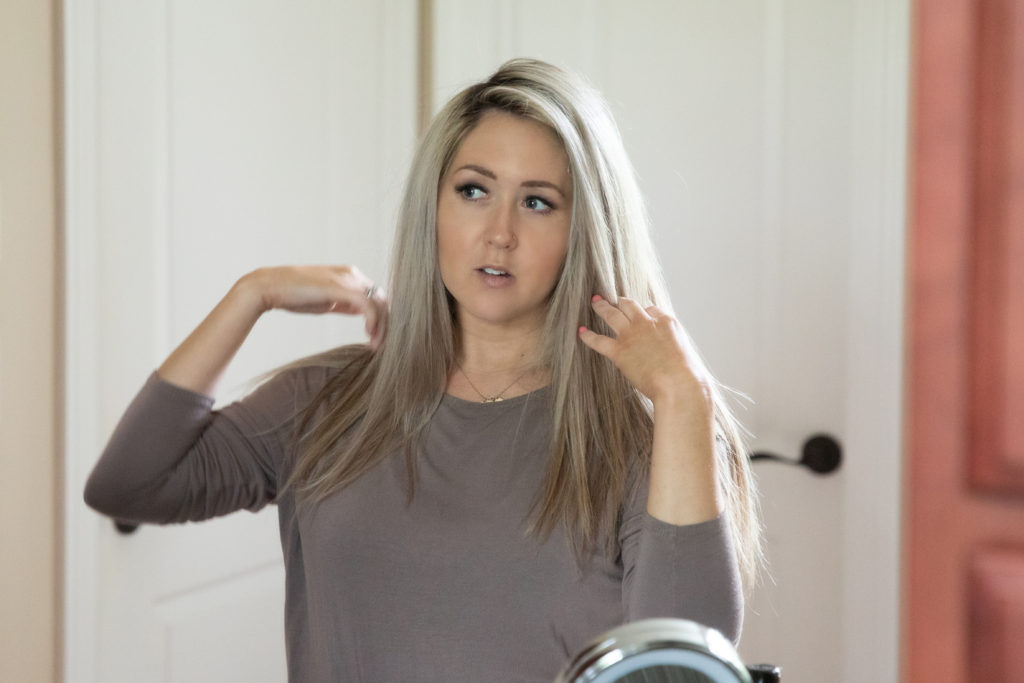
1. start with your typical shower routine using your favorite hair food shampoo + conditioner. towel dry hair and add styling products as usual… i have found my hair has a lot more grit and will hold the braid much better with more product and i typically use a root lifter + 5-in-1 styling cream. blow dry your hair then use dry shampoo at the roots. i can get more days out of 1 style with dry shampoo on clean hair and it also adds some texture + hold.
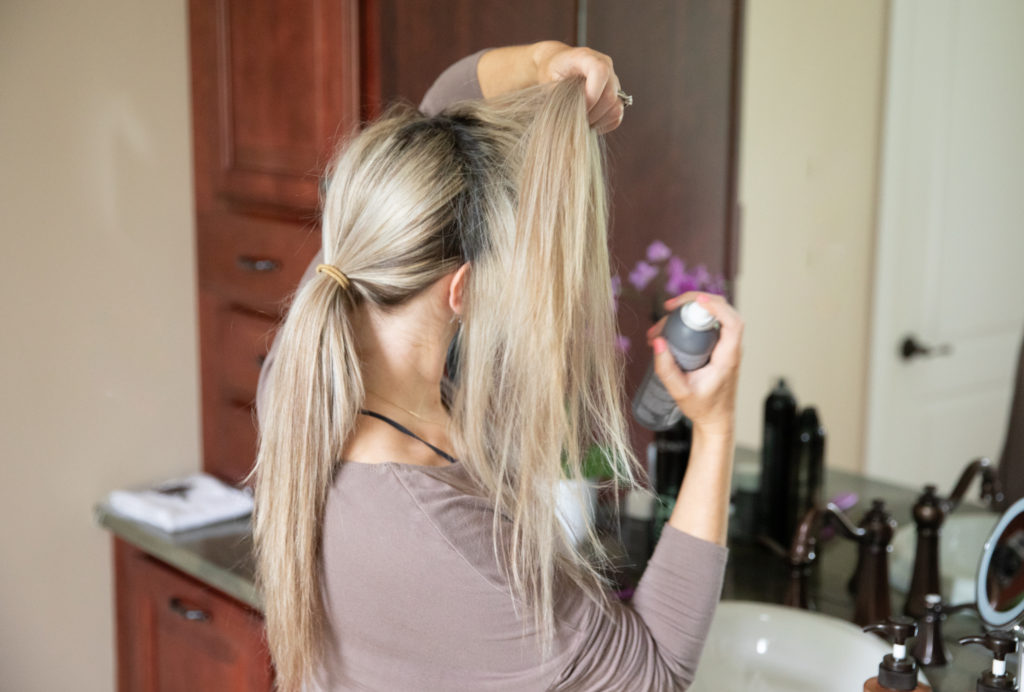
2. part your hair down the side and separate the section of hair to be braided. pull the unwanted section into a pony to stay out of the way.
3. spray section to be braided with dry shampoo.
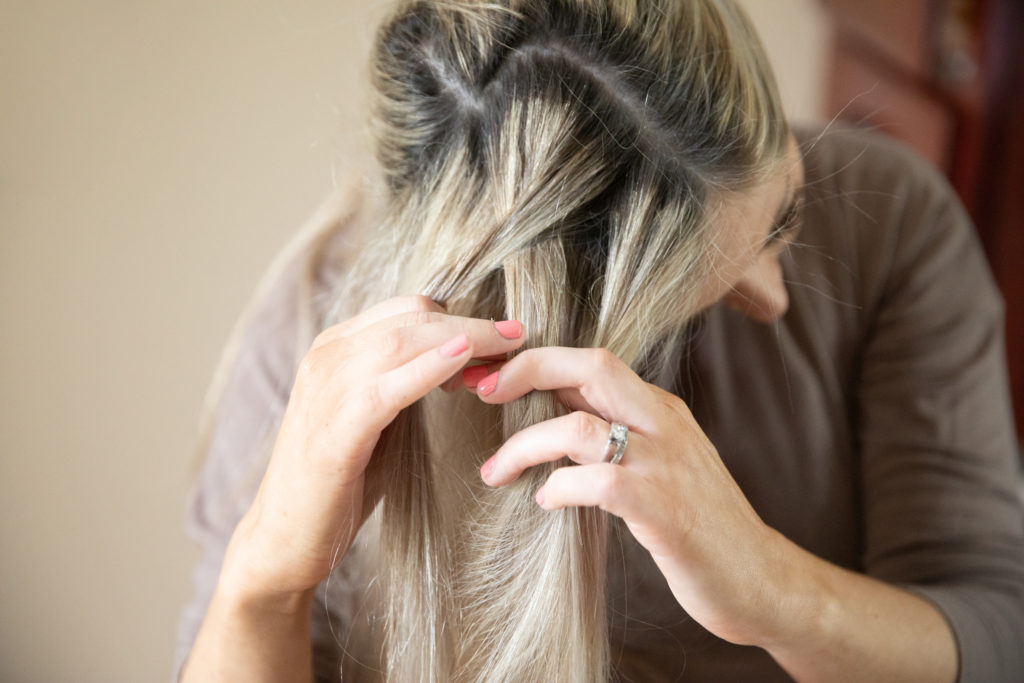
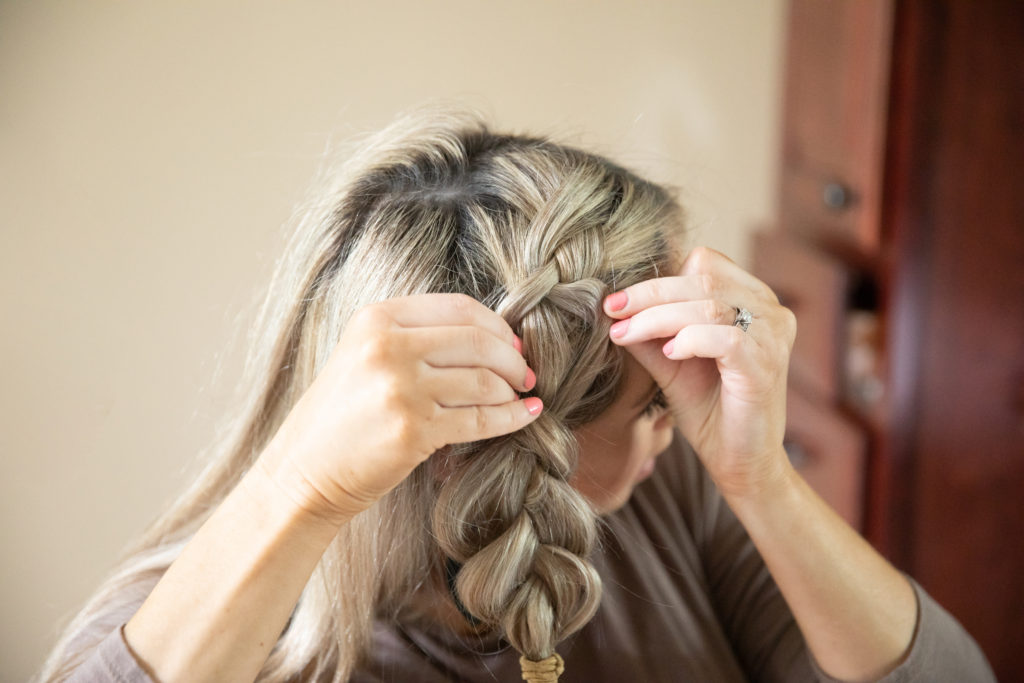
4. using finger, take first section on the top.
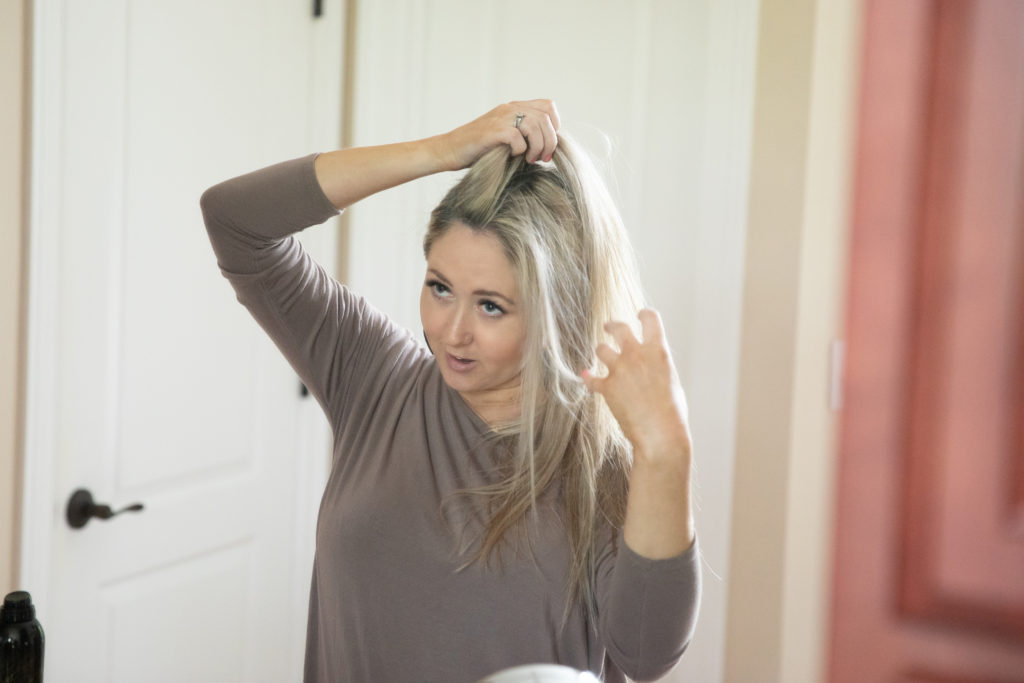
5. then separate into 3 sections
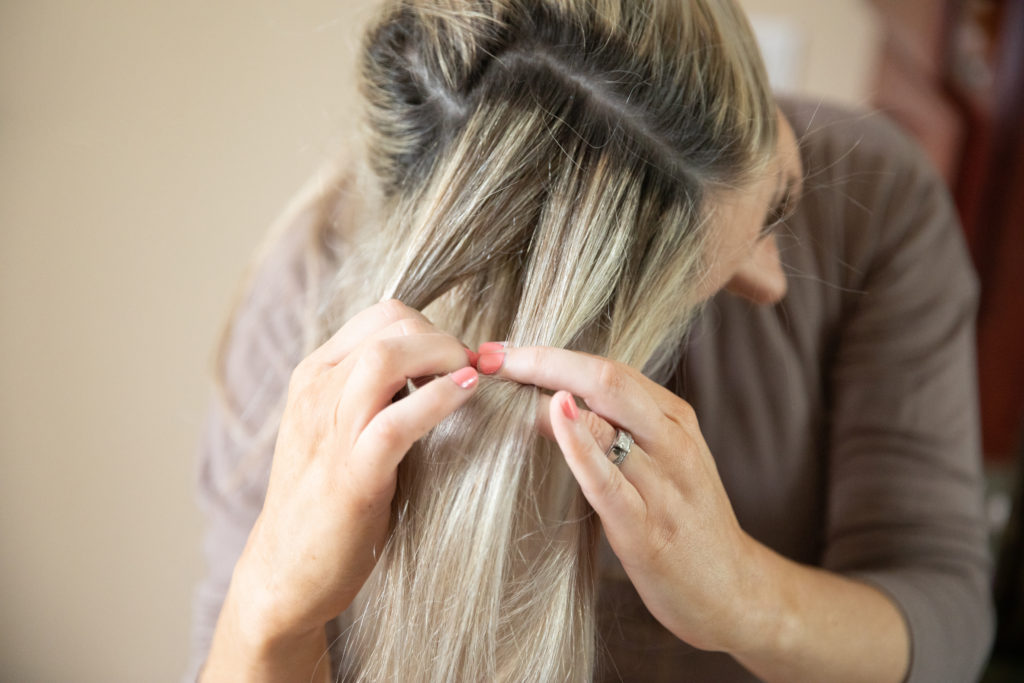
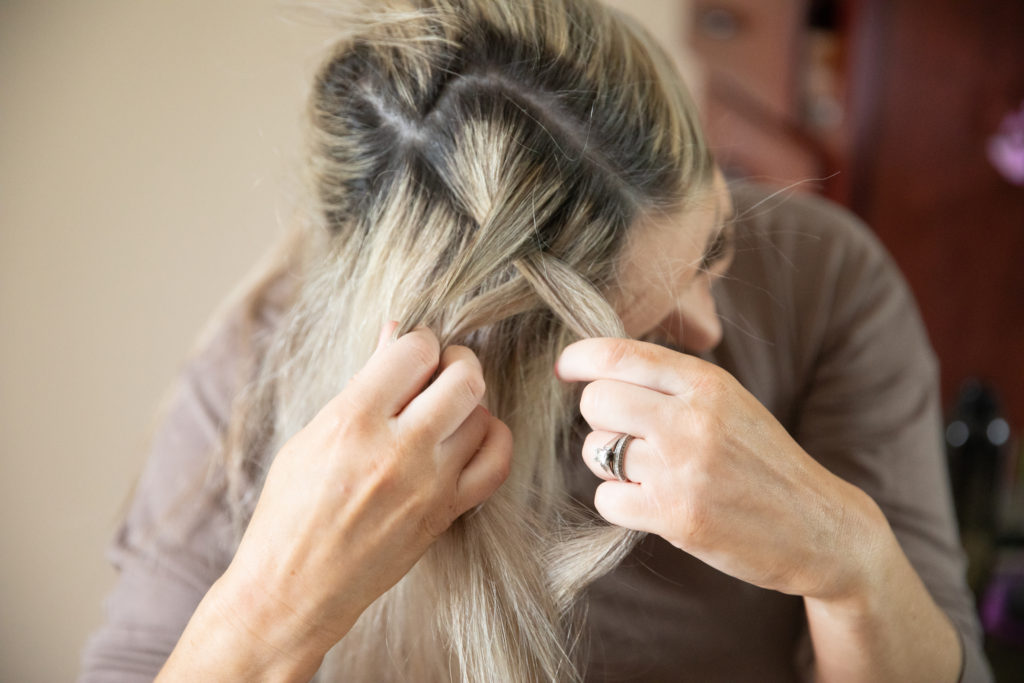
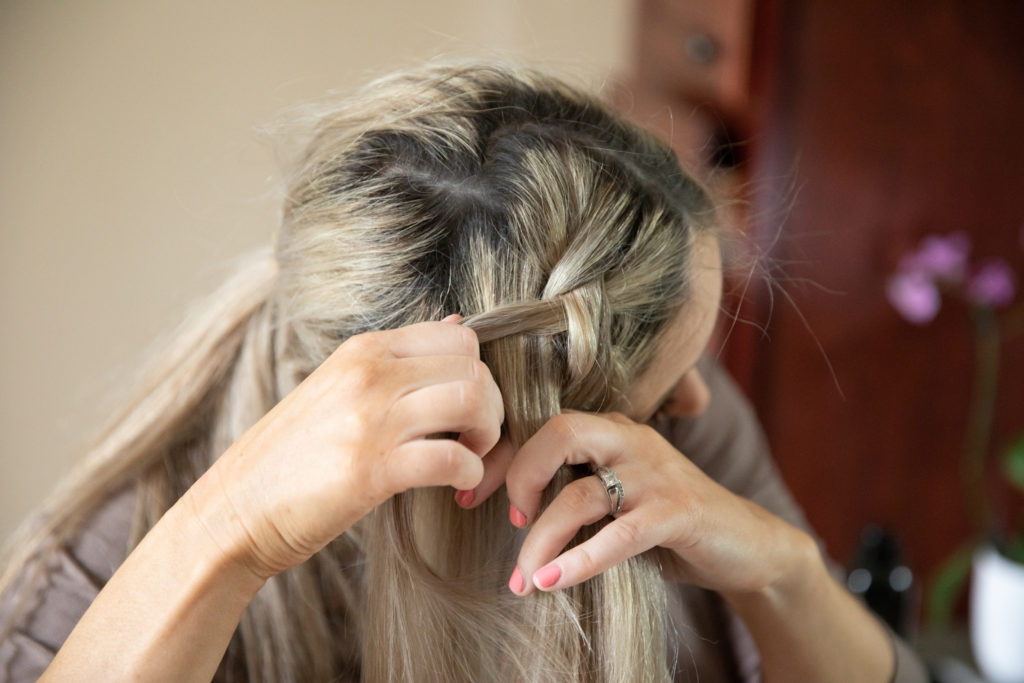
6. pull far section under the middle section and grab the middle section to now be the back section.
7. using thumb, grab next section of hair below and add it to the now-back {originally middle} section.
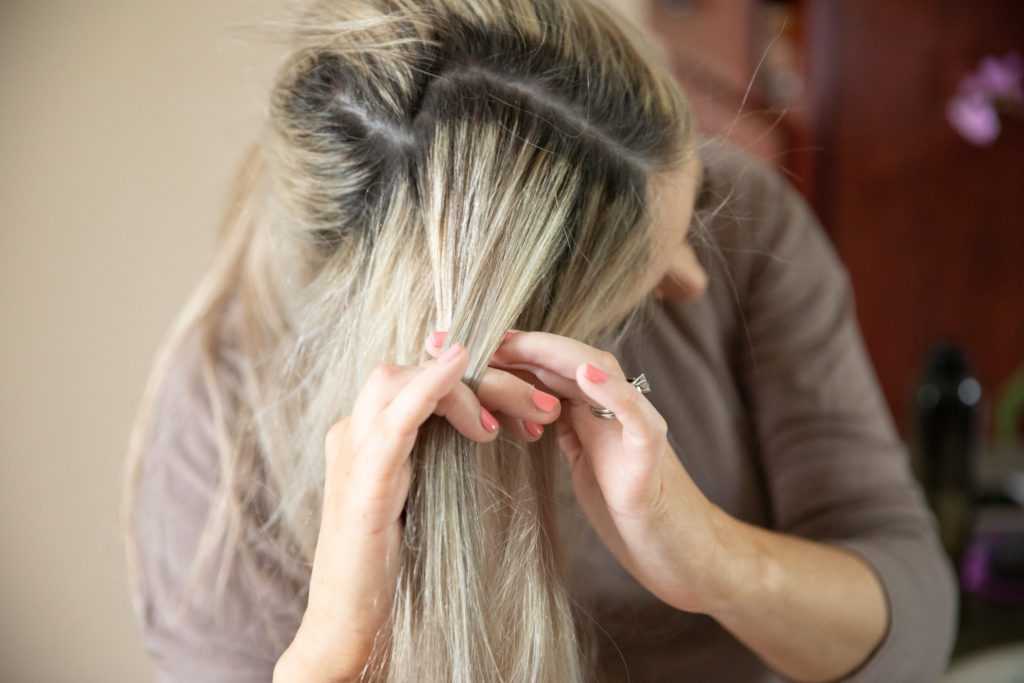
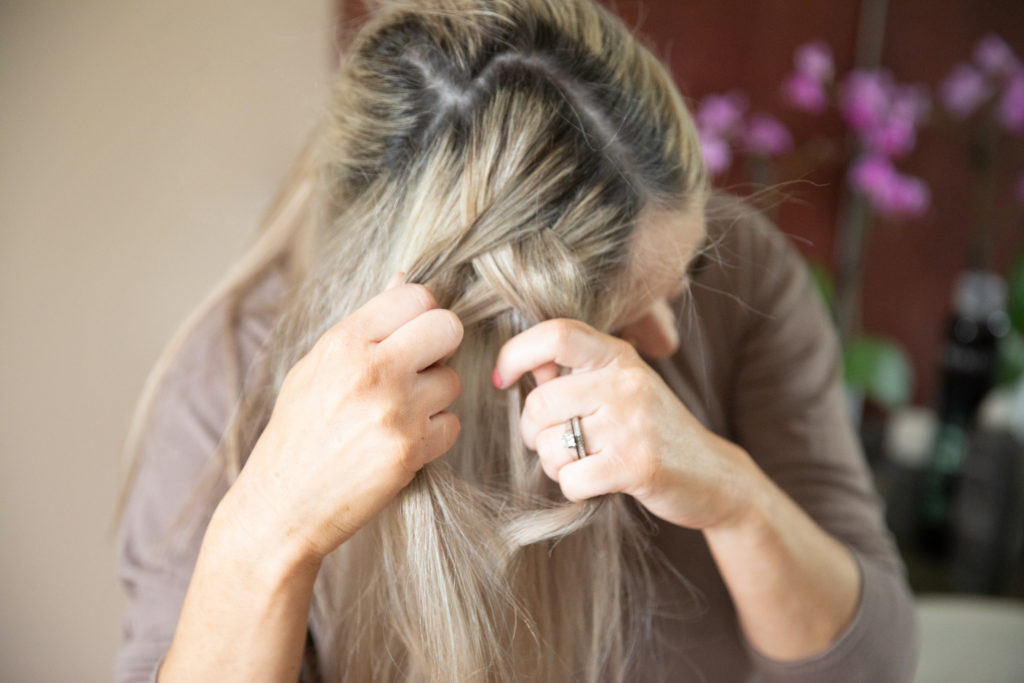
8. take the now middle {originally back} section and put it over the front section, bringing the front section under and now to the middle..completing the row by taking it over the back section.
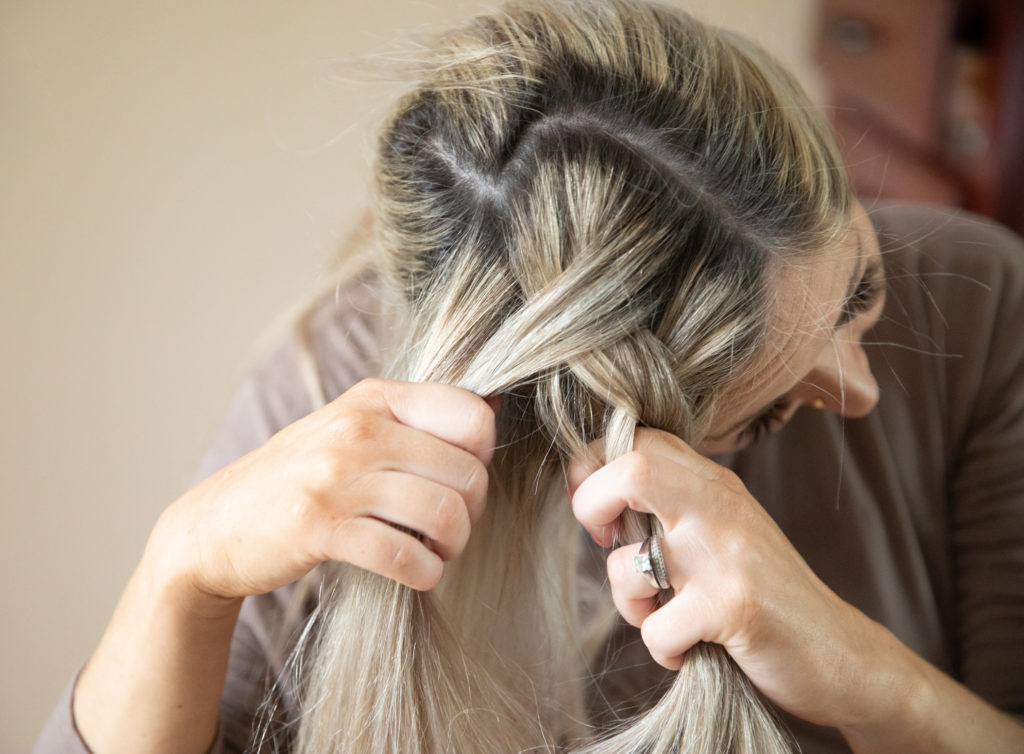
9. continue to french braid the hair, adding hair to the outside sections before wrapping it around.
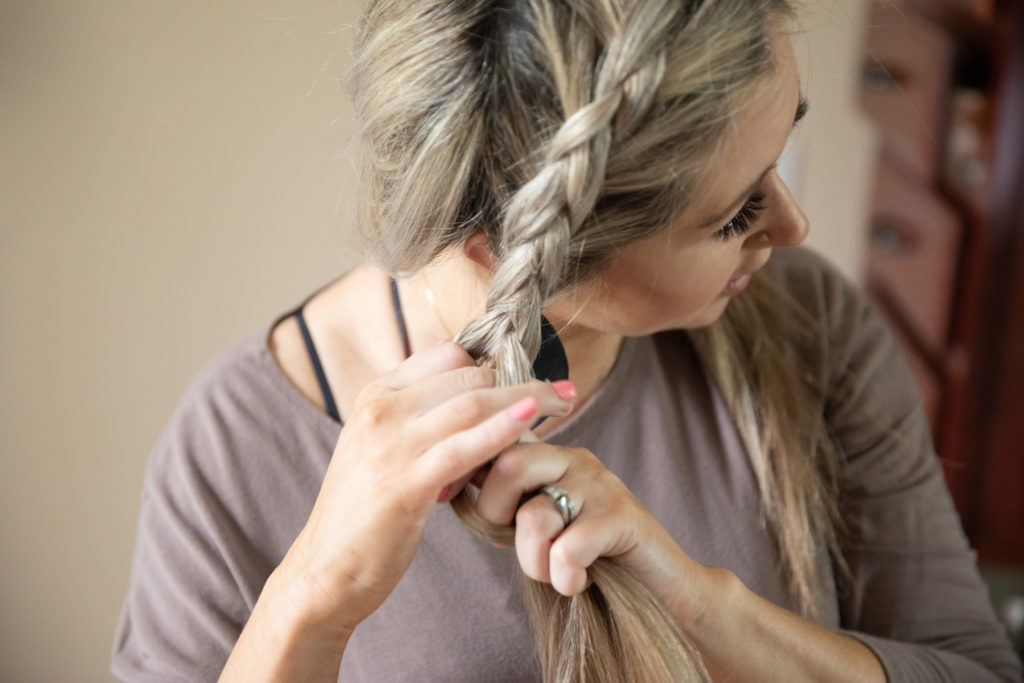
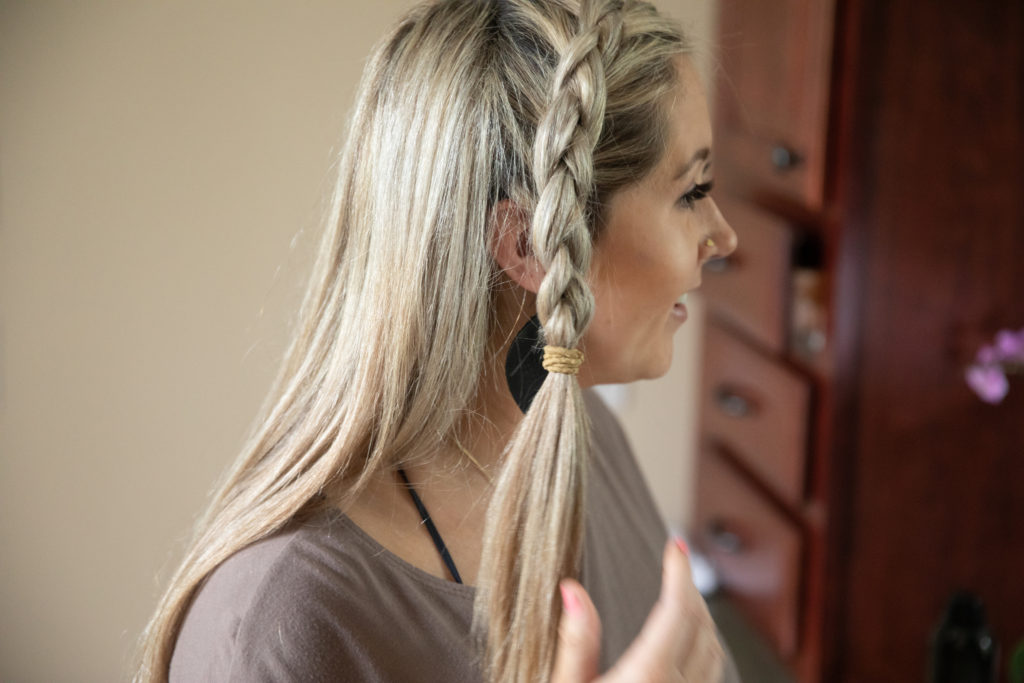
10. finish braiding the lower section and use a hair tie, leaving hair at the bottom unbraided.
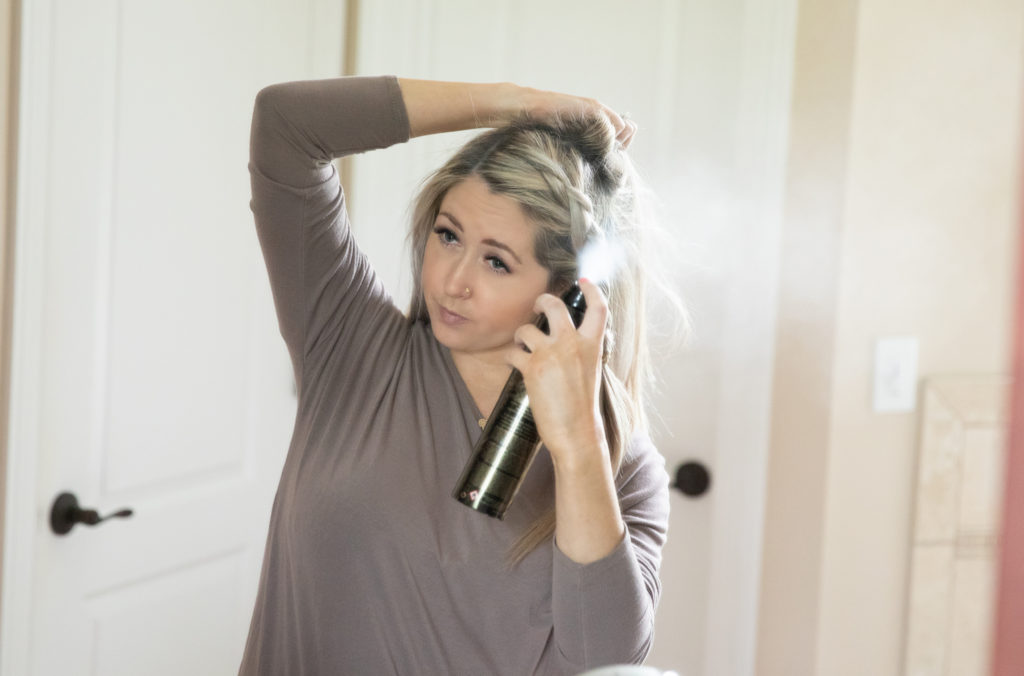
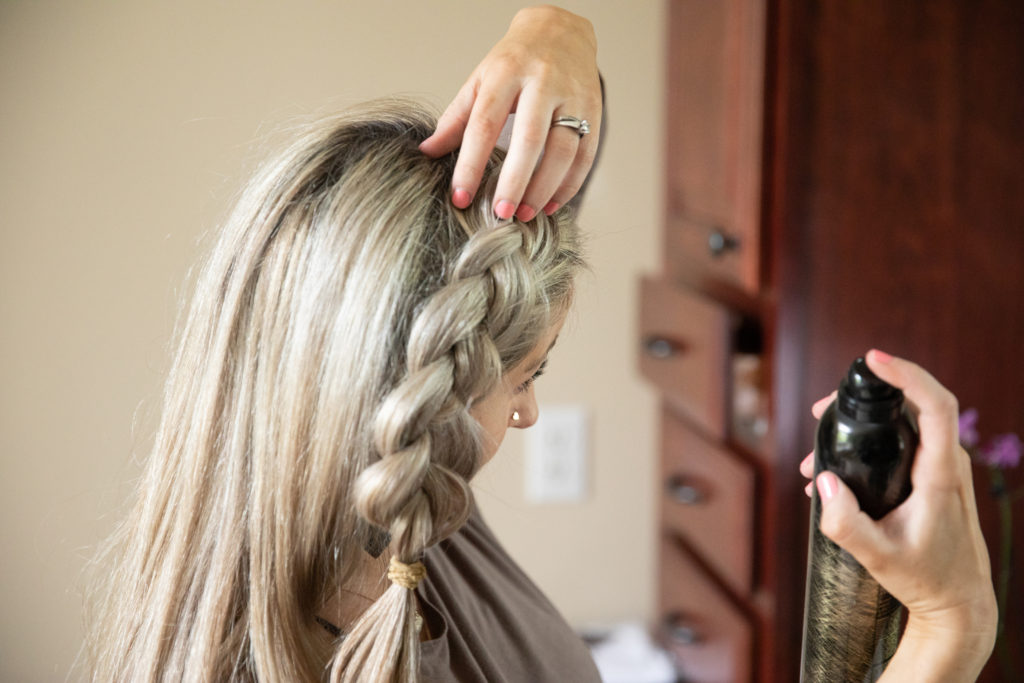
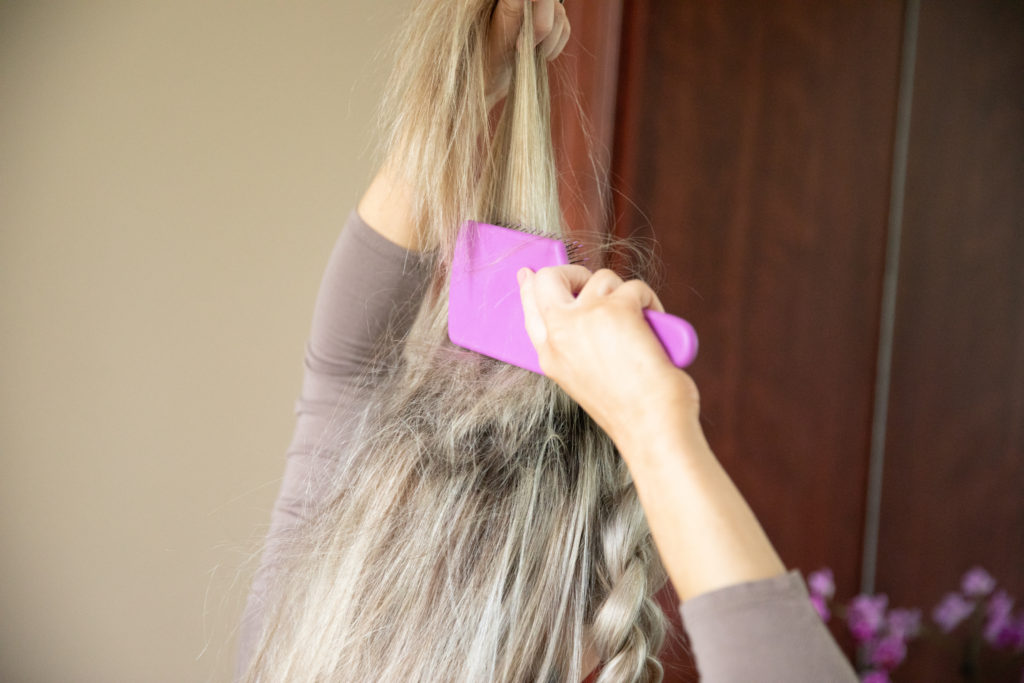
11. use a texturizing spray to spray the rest of the hair to add volume for the messy bun then using fingers, tousle.

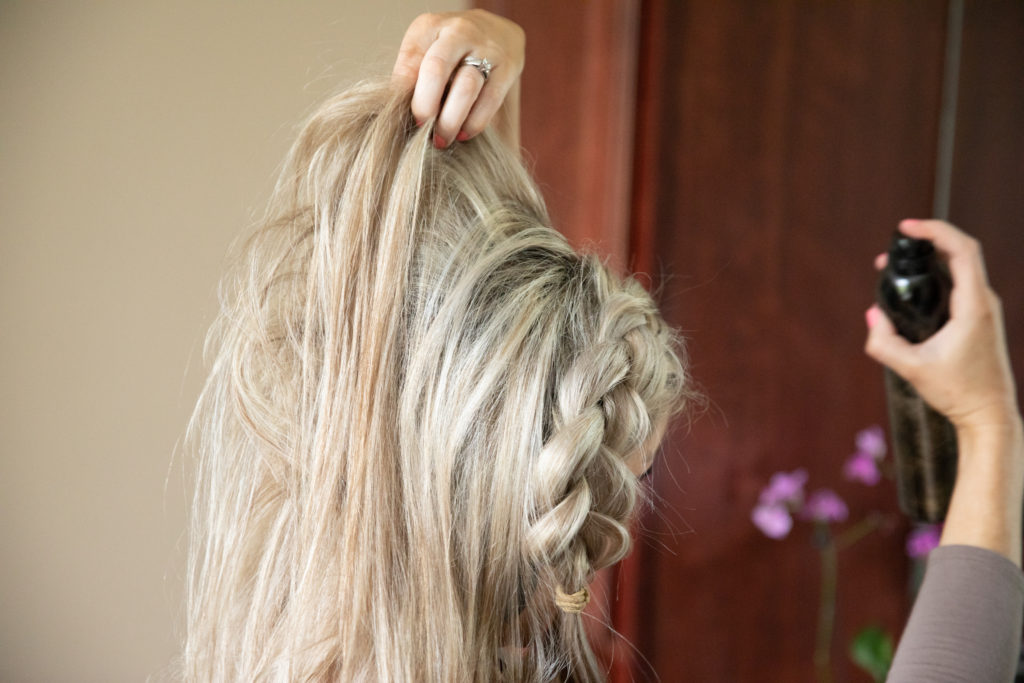
12. spray braid with texturizing spray.
13. starting at the bottom, use your fingers to gently pull out the braid.

14. as you pull out from the bottom, work your way up the braid, pulling out each section to your desired ‘looseness’. depending on how clean my hair is, i may need to spray more texturizing spray on the braid as it loosens for extra hold + grit.

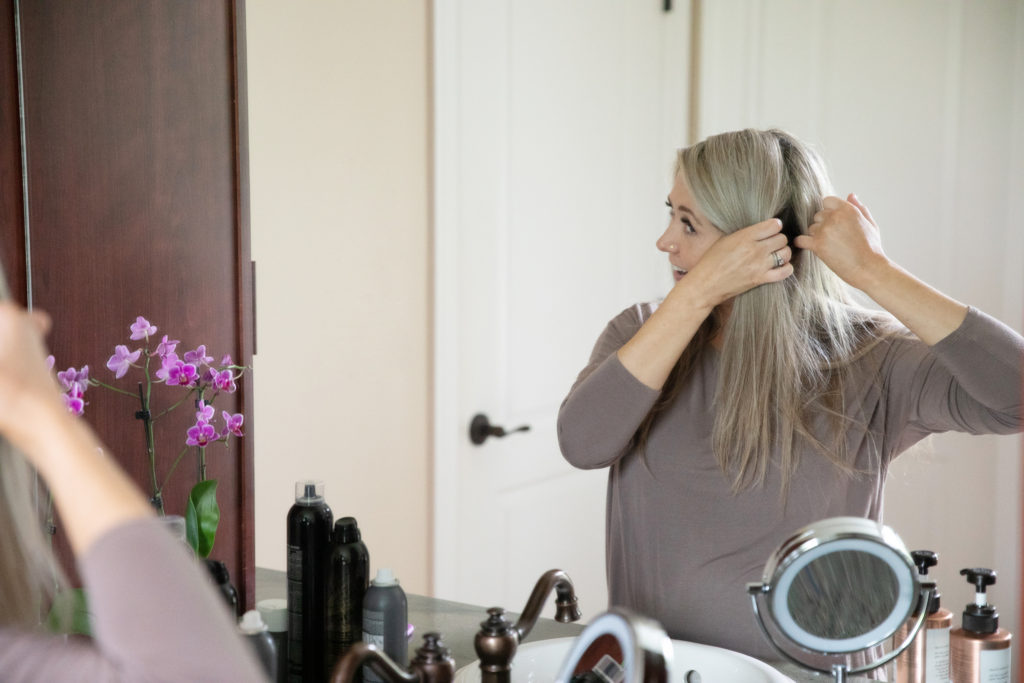
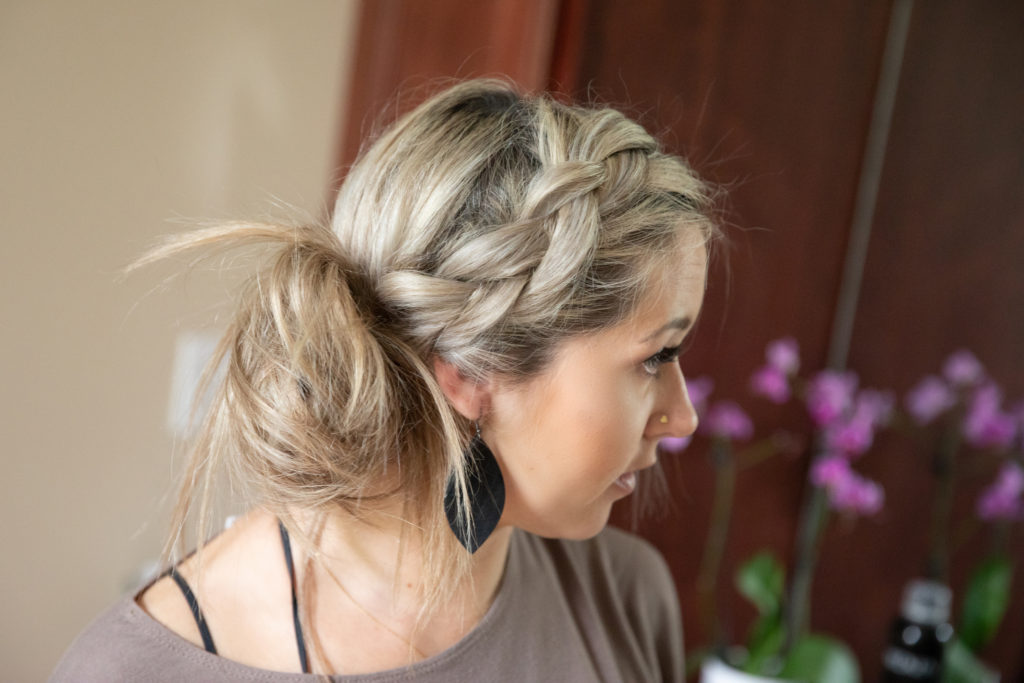
15. texturize and tease the crown of your hair to add more volume.
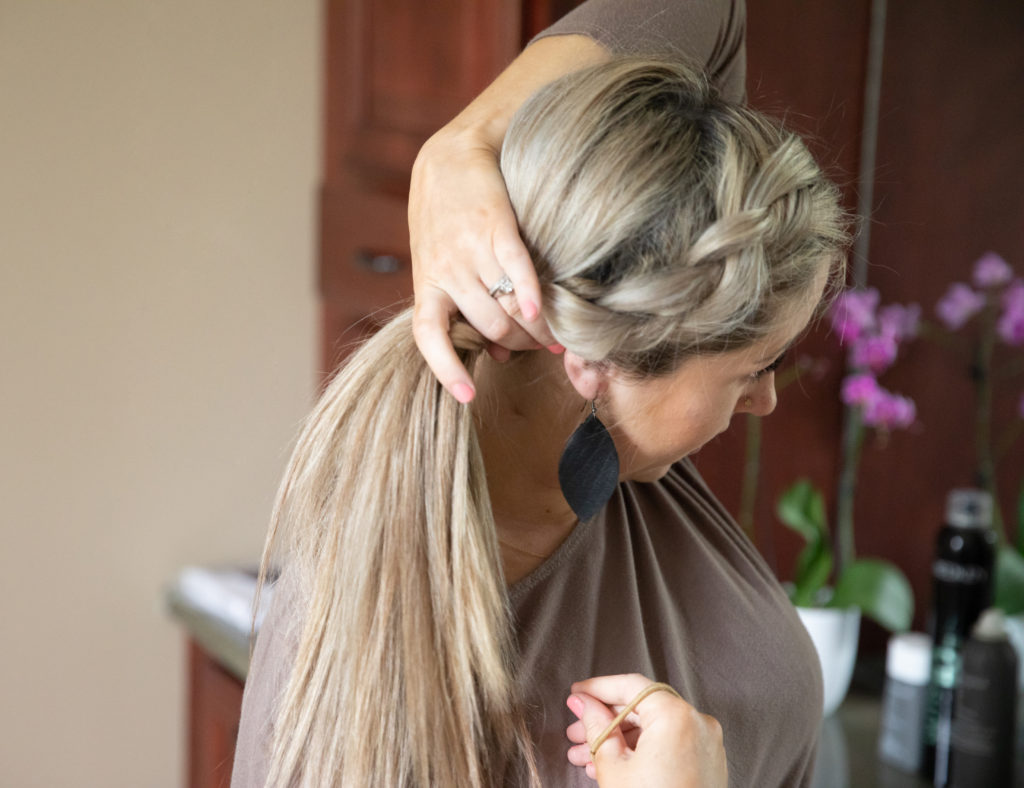
16. pull hair to the side of the braid.
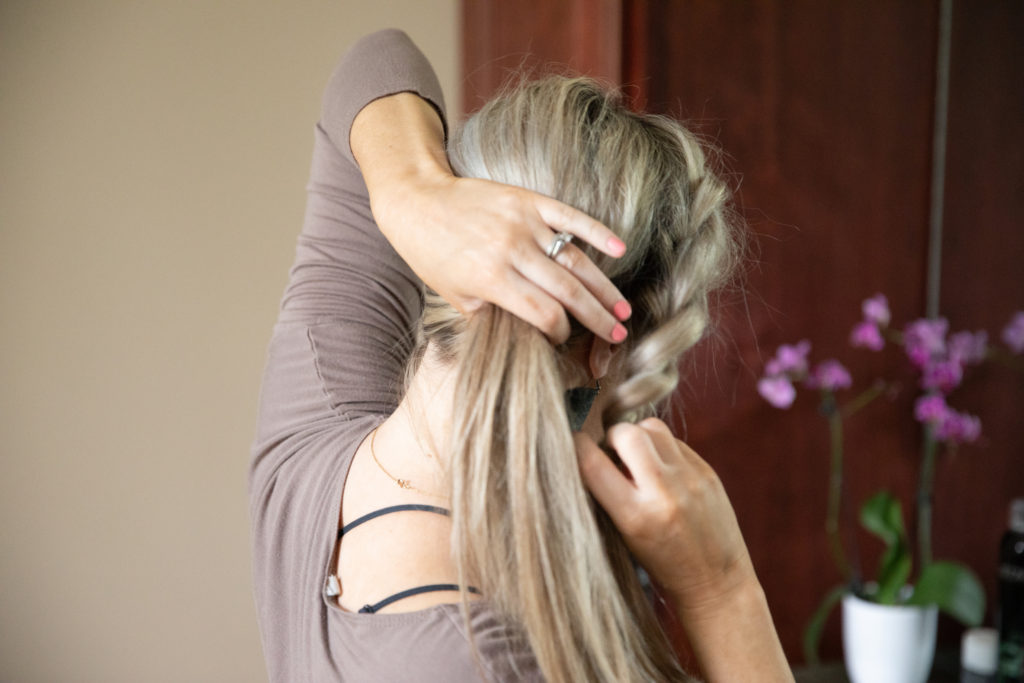
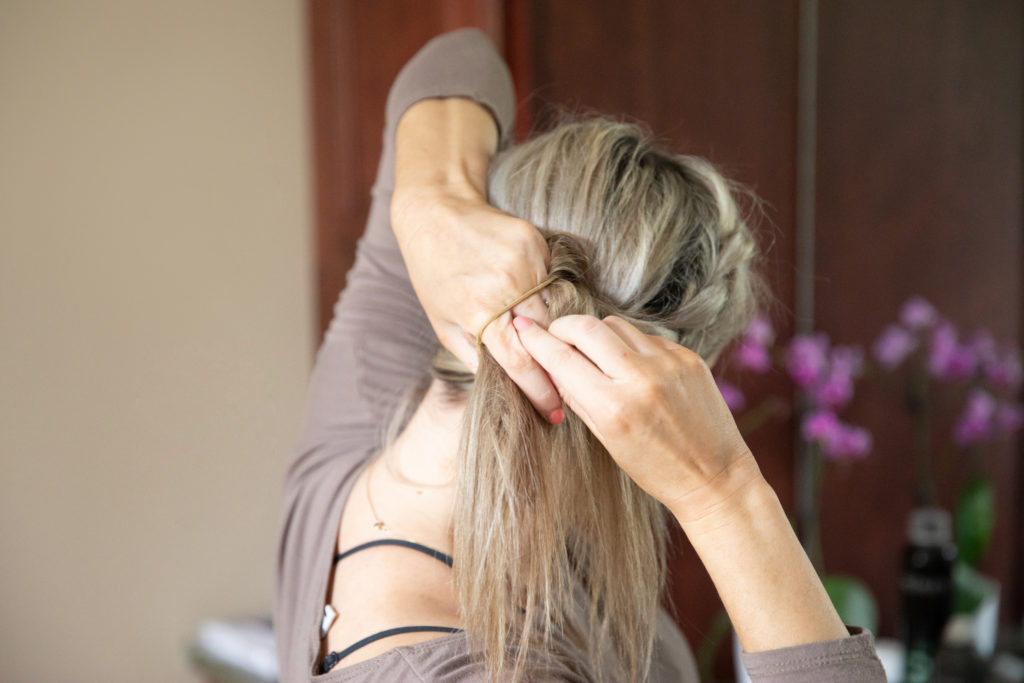
17. pulling all the hair and the braid into one hand, use the other hand to take out the hair tie and pull into messy bun. i do not pull my hair all the way through in order to get the bun.
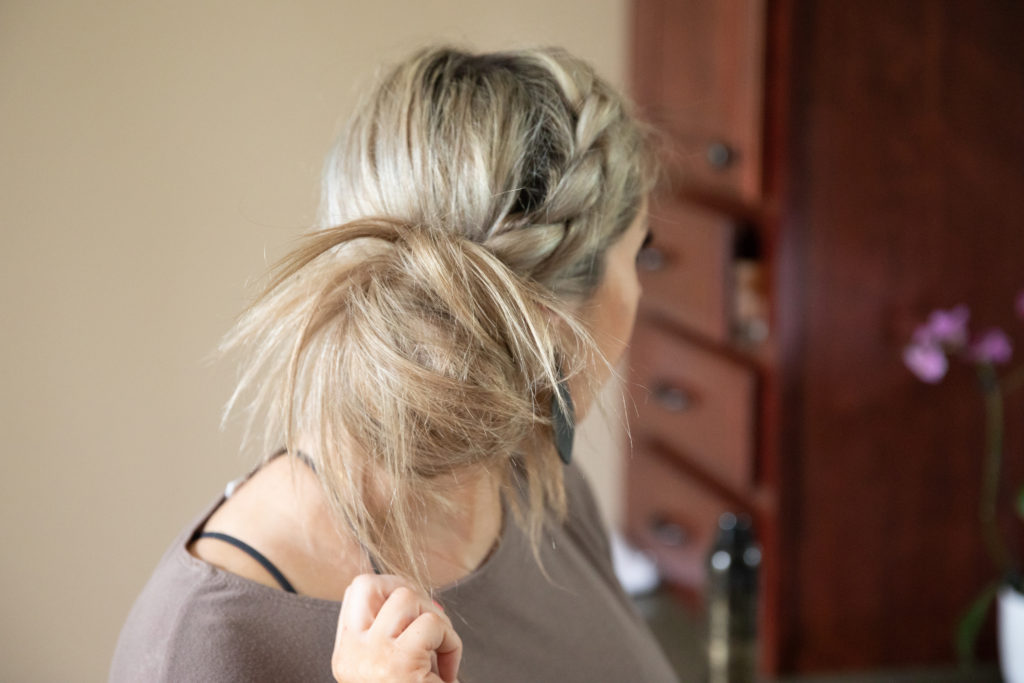
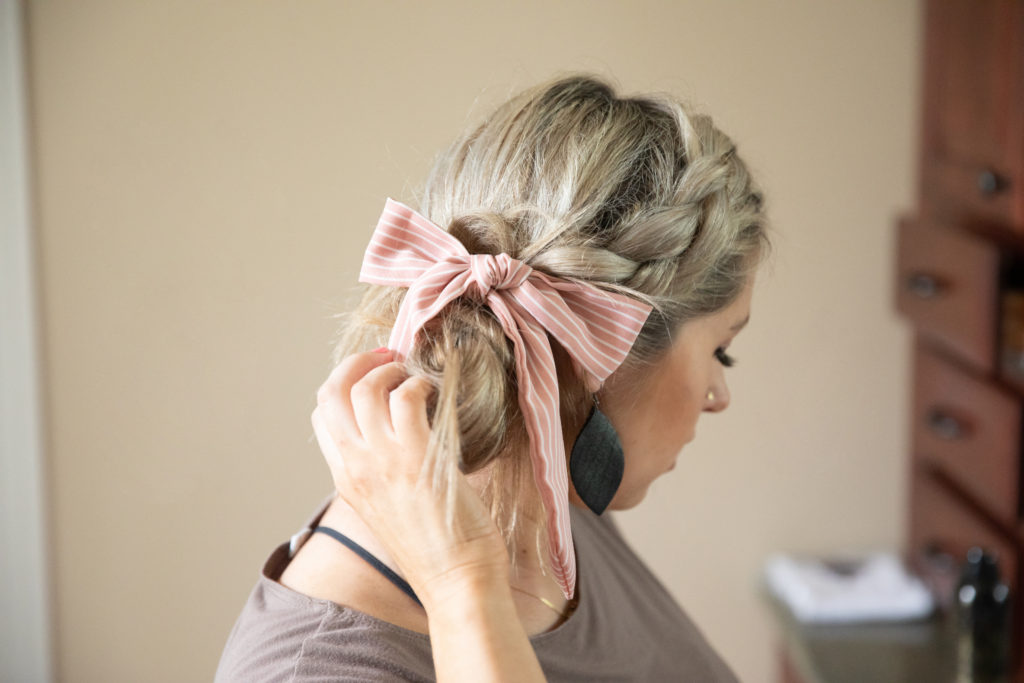
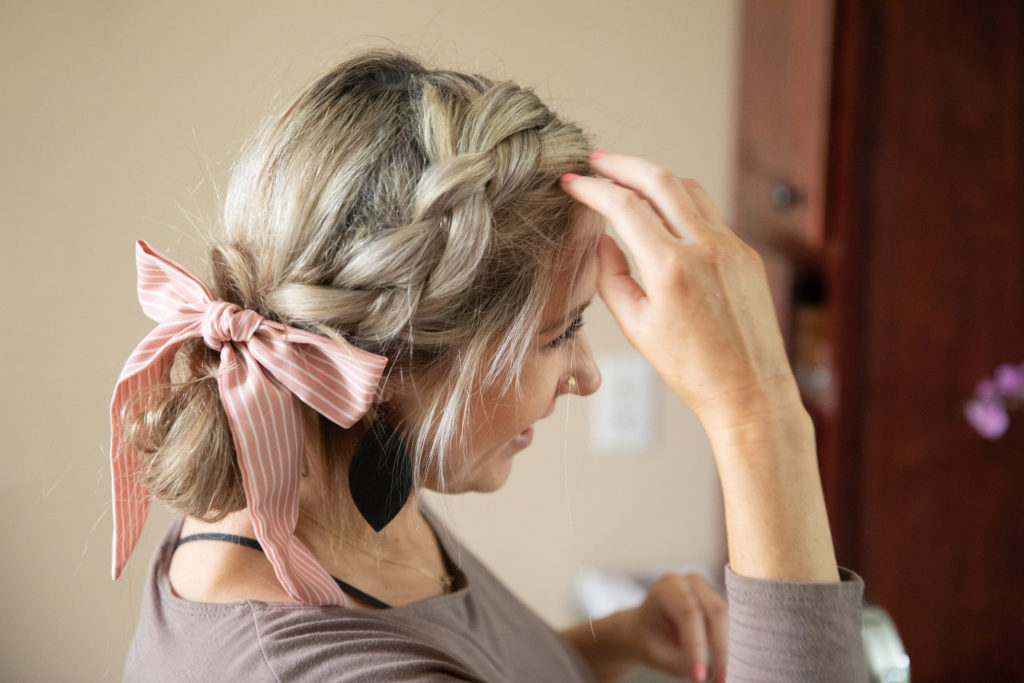
18. add hair accessories if desired….scrunchies are my favorite for this look!

19. pull out strands to frame your face. and add curls if desired!
This is a sponsored conversation written by me on behalf of Hair Food. The opinions and text are all mine.
photography by the crazy talented ivory lamb photography !
Love this! Very slick! ❤️🐝👍👍👍👍👍