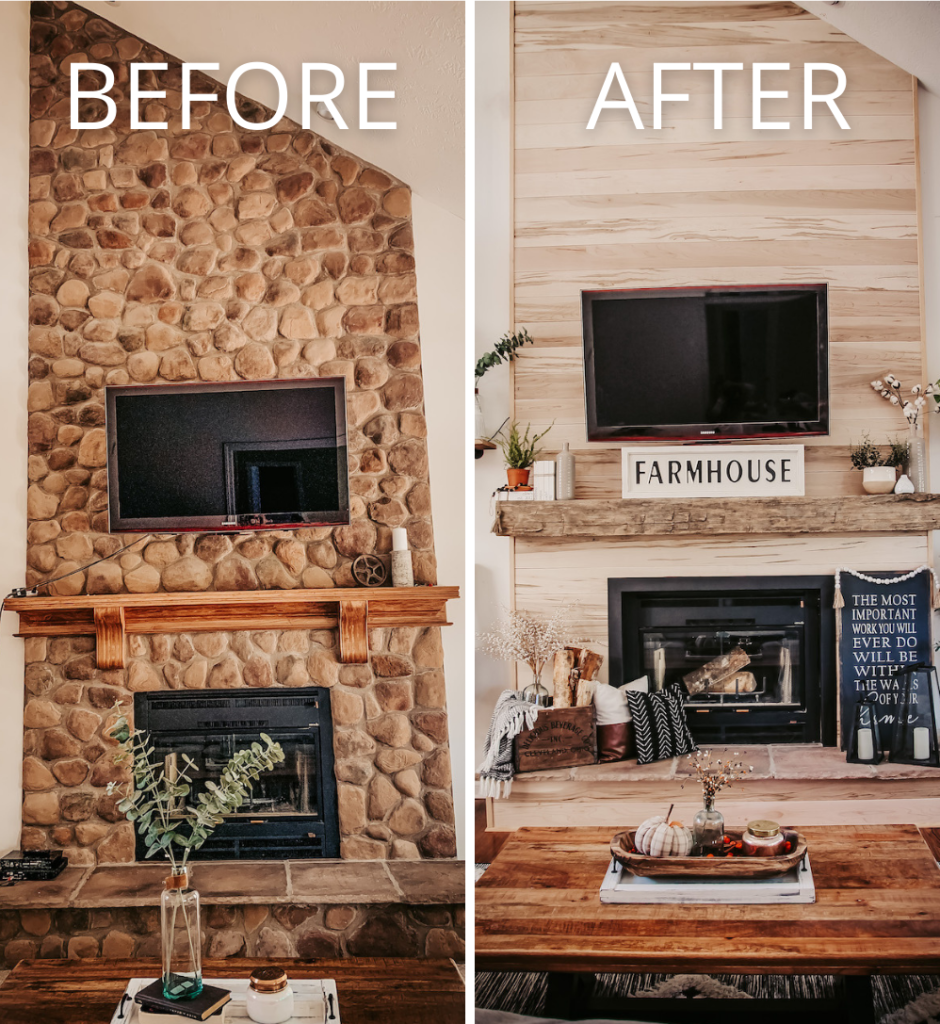
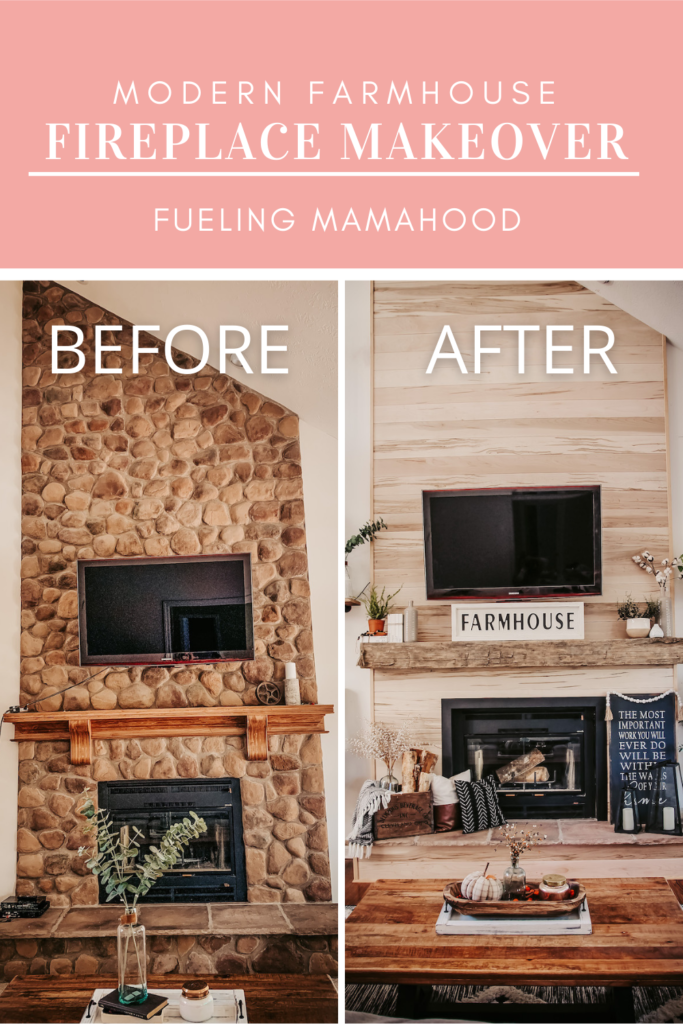
a modern farmhouse fireplace surround makeover to remove stone + install a faux shiplap wall with a barn beam mantle.
when we first moved into our custom built white farmhouse last year, i instantly fell in love with the tall ceilings + natural light. top on my ‘wishlist’ for updating was the fireplace mantle + surround. we’ve slowly been moving towards an industrial farmhouse feel throughout the house, starting with our powder room update followed by our dining room turned homeschool / home office update. they’ve turned out beautiful and only made us more excited about more home projects!!
the center of our home is this beautiful floor to ceiling fireplace surround and while the original plans were to attempt to paint it, we ultimately decided that i would be happier with a faux shiplap finish. this project was a labor of love and while i’ll be honest that most of my help was in the design + decorating, the handful of times i found myself up on a ladder solidified that zach is the obvious hero in this one!! he worked his cute booty off to deliver this GORGEOUS update and y’all his hard work paid off.
modern farmhouse fireplace makeover
materials needed for wood wall farmhouse fireplace installation
ornamental moulding AMAP 1/2 x 6 x 96 boards
3/4in quarter round
1 in. corner moulding
2 in. 18 gage nails for paneling
1 in. 18 gage nails for trim
heavy duty floating shelf brackets
shims
barn beam
tools needed for faux shiplap farmhouse fireplace wall
nail gun
table saw
compound sliding miter box
8 ft. level
scaffolding
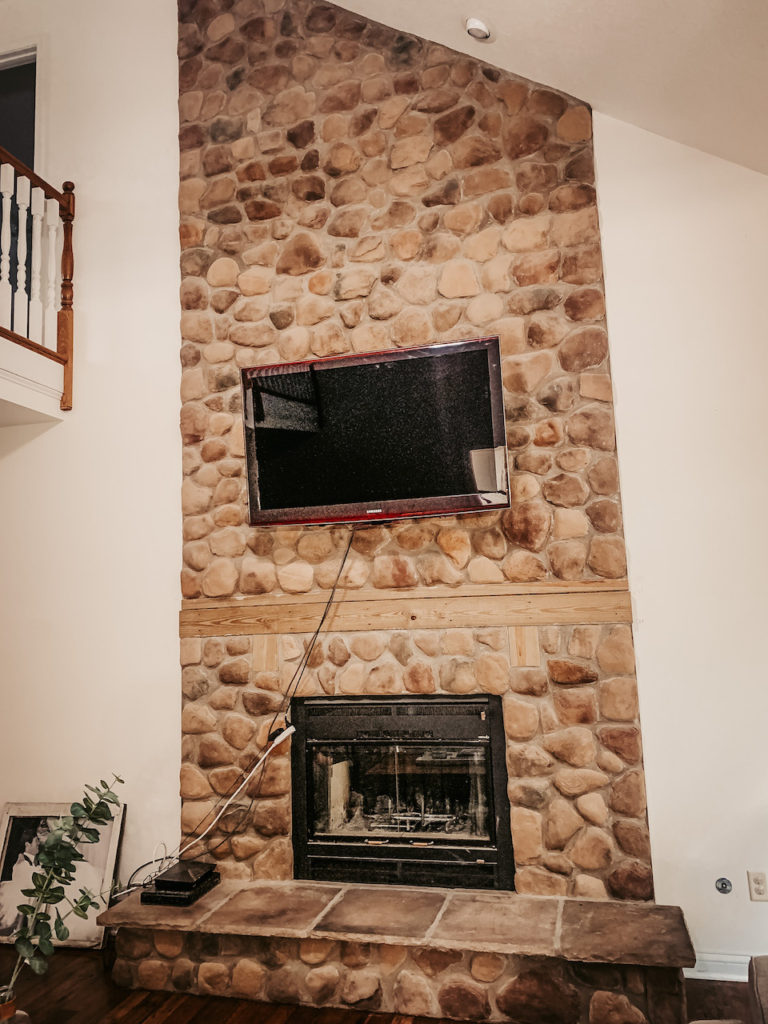
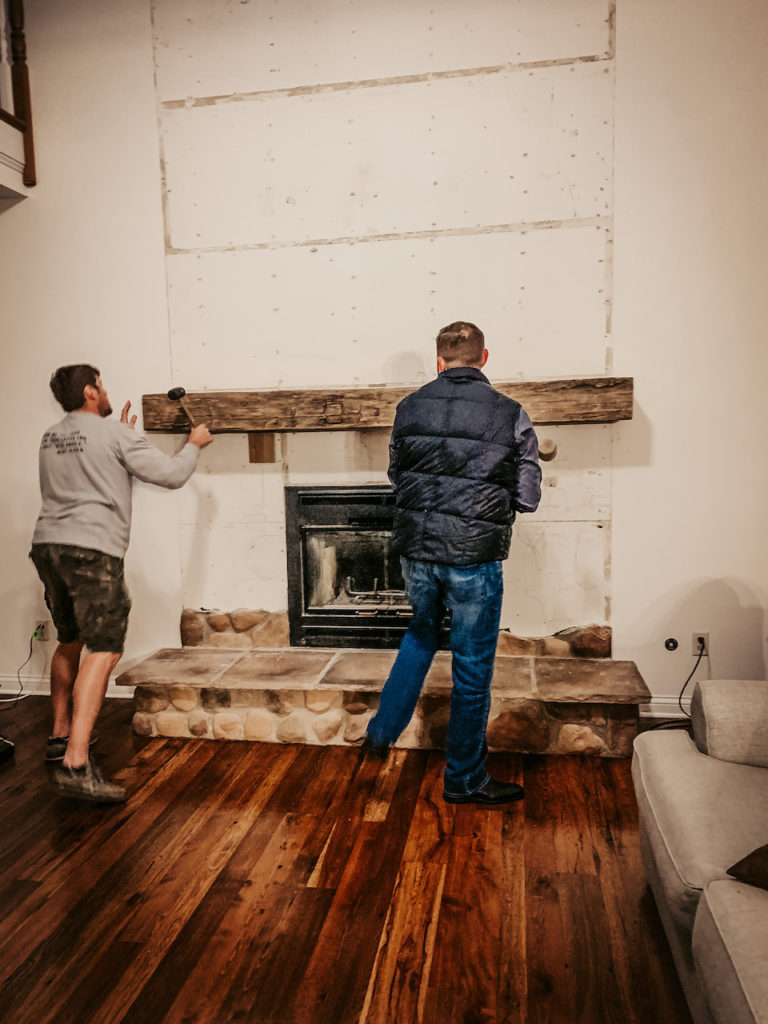
step 1: take down old mantel
the first thing we did was remove the old mantel. zach was able to do this part by himself with a crowbar and some muscle! we knew from the very beginning that we wanted to use a real barn beam and used these heavy duty shelf brackets for a floating shelf look.
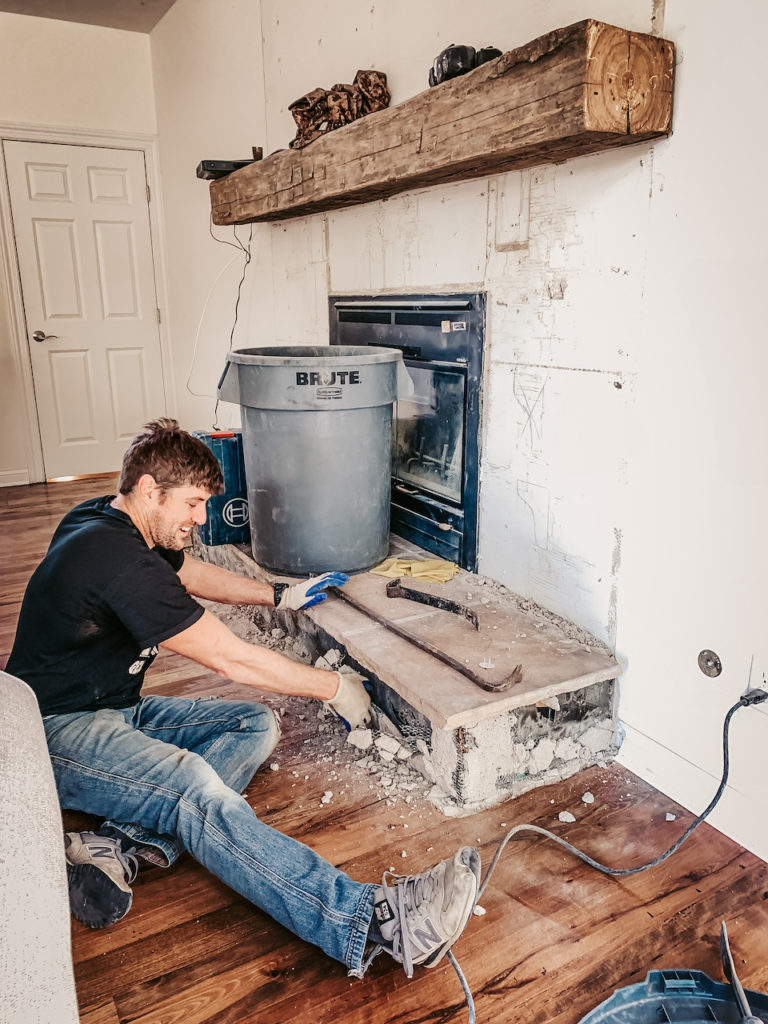
step 2: remove old materials if necessary
originally, we had planned to simply cover the stone but as zach started, we realized the best option, although more time consuming, was to remove all of the stone to achieve a level surface without bowing in the wood.. it wound up being a ton of work and quite the mess, but in the end it was absolutely the right call. this step needed a lot of constant clean up including vacuuming, sweeping, etc.
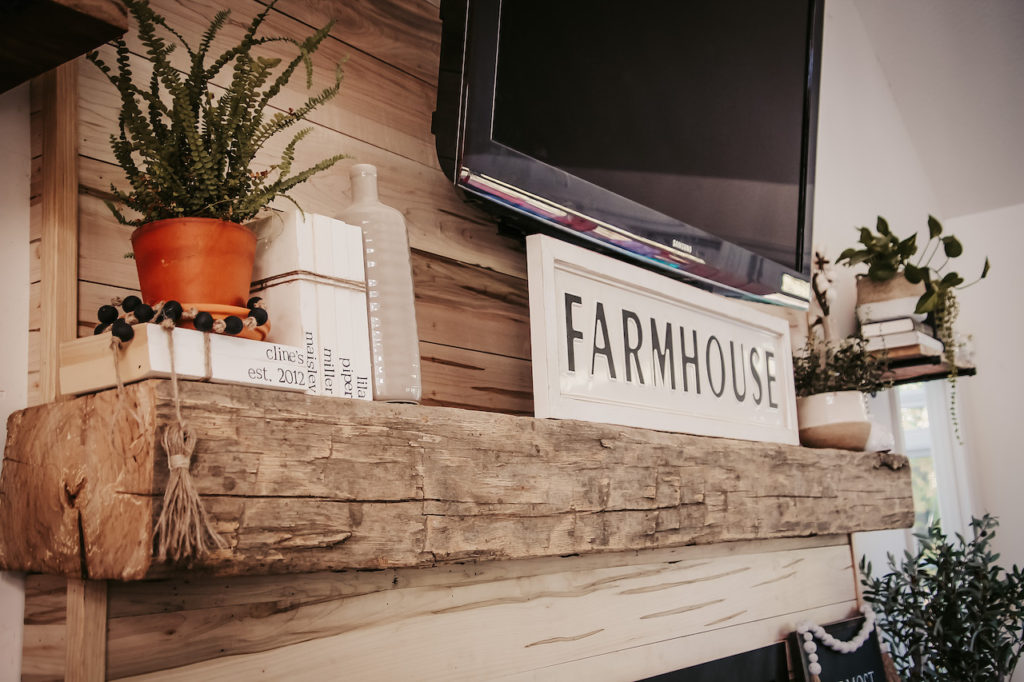
step 3: install new mantle
we used a real barn beam {fun fact: zach tears down old barns in the summers so we reap the benefits with barn lumber} and i really wanted a floating look compared to having supports underneath. we found these heavy duty shelf brackets with great reviews and have used them for two different mantles now, including our homeschool/home office.
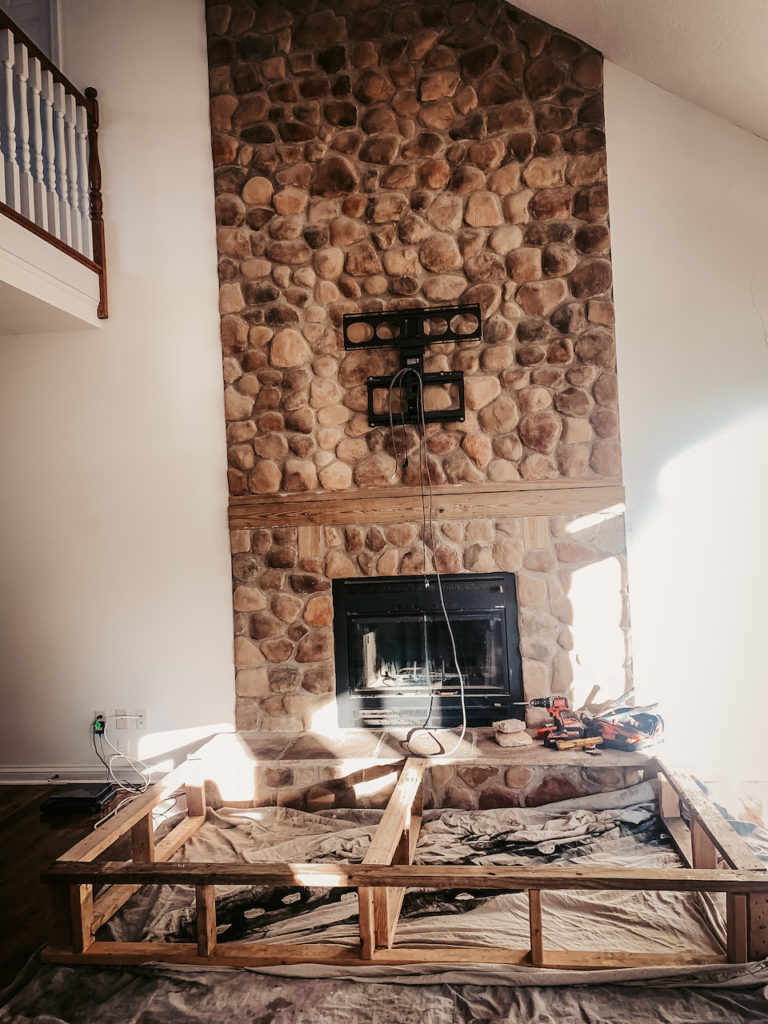
step 4: frame new surround structure with 2 x 4s
we wanted the fireplace surround to have a some depth so zach framed the space with 2 x 4s. below the mantle, we set the 2 x 4’s on their side while above the mantle we laid them flat to offer some visual difference.
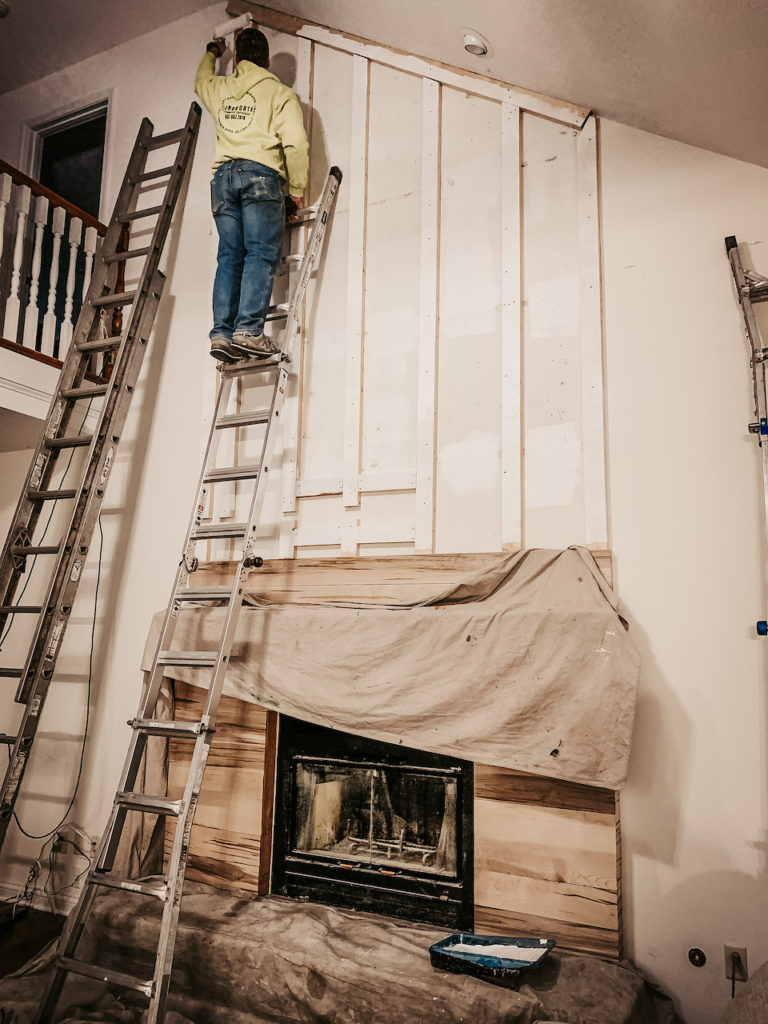
step 5: paint 2 x 4
i also wanted to add a bit of space between the boards which would allow for some light to sneak through. in order to not see the boards through the gaps, we painted the boards white. this part doesn’t have to be done perfectly, just a rough paint job is fine!
step 6: cut ornamental decorative boards to length
we had the opportunity to partner with ornamental moulding, the leading supplier of decorative components to the industry for this project and we couldn’t have been happier with the quality of these decorative boards. every board is 7/16 inches in thickness, 5-½ inches tall and 8-feet long. they are lightweight and easily cut making for this part of the job to be completed easily + quickly!
the ambrosia maple mouldings and boards were created to mix and blend with any design style from contemporary to farmhouse. these functional boards can be used as wall coverings, shelves and many other projects. easily apply a clear coat finish to bring out the natural color and wood variation or stain with any color!
using the compound sliding miter box, zach cut the boards to desired length. we opted for longer boards below the mantle and shorter boards {by 4 inches} above the mantle for a bit of definition in the spaces.
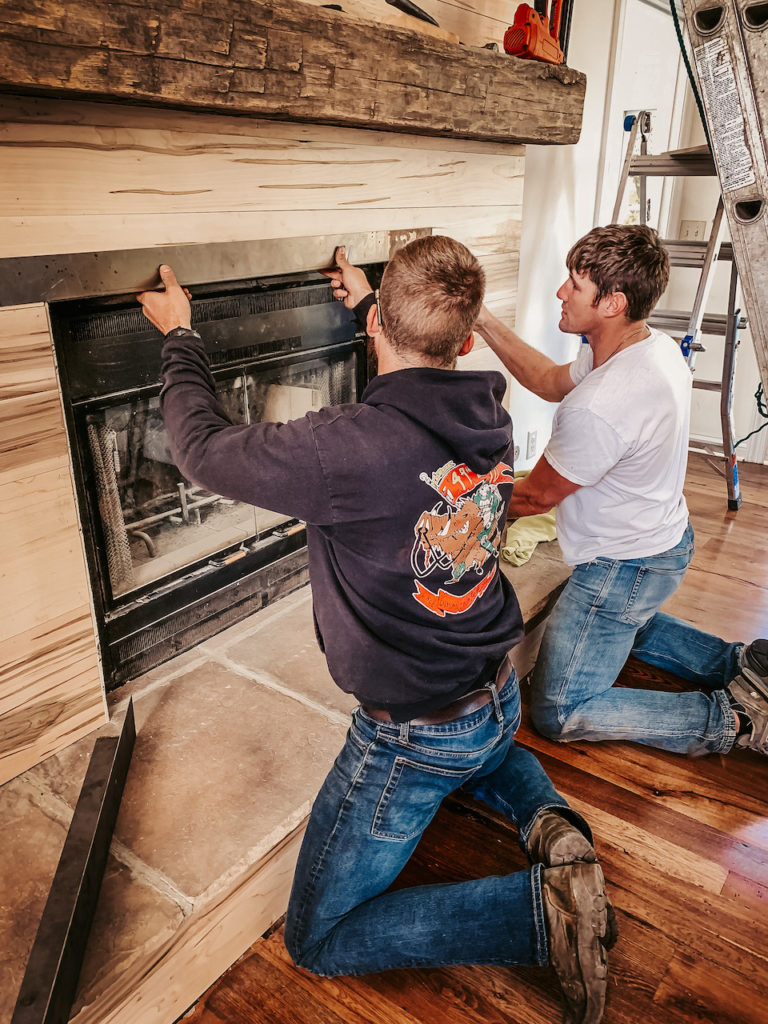
step 7: install boards, starting with side boards
in order to hide the seams as easily as possible, zach first nailed the side panels in, then put on the front board. in the end, we opted to use corner molding but could have opted to leave it raw for a more rustic look. we also used shims to place in-between the boards so there would be a small space in between each board. the ambrosia maple decorative boards from ornamental moulding & millwork were at the heart of this project and helped to turn it into our dream project! don’t they look amazing?!
step 8: cut + install toe strip {quarter round}
after all of the boards were installed, we easily hid any gaps along the floor/wall by using quarter round. this was the icing on the cake and truly brought it all together!
step 9: cut + install corner moulding + metal framing
while this step is optional, we both felt like this brought the whole project together for a modern farmhouse look! we decided at the last minute to have a custom metal frame from clearly machine company installed for around the fireplace. while not absolutely necessary, we plan to use the fireplace and wanted an extra layer of protection between the fireplace and the wood boards. you can find out more info at clearlymachine.com or contact jkasperski@clearlymachine.com!
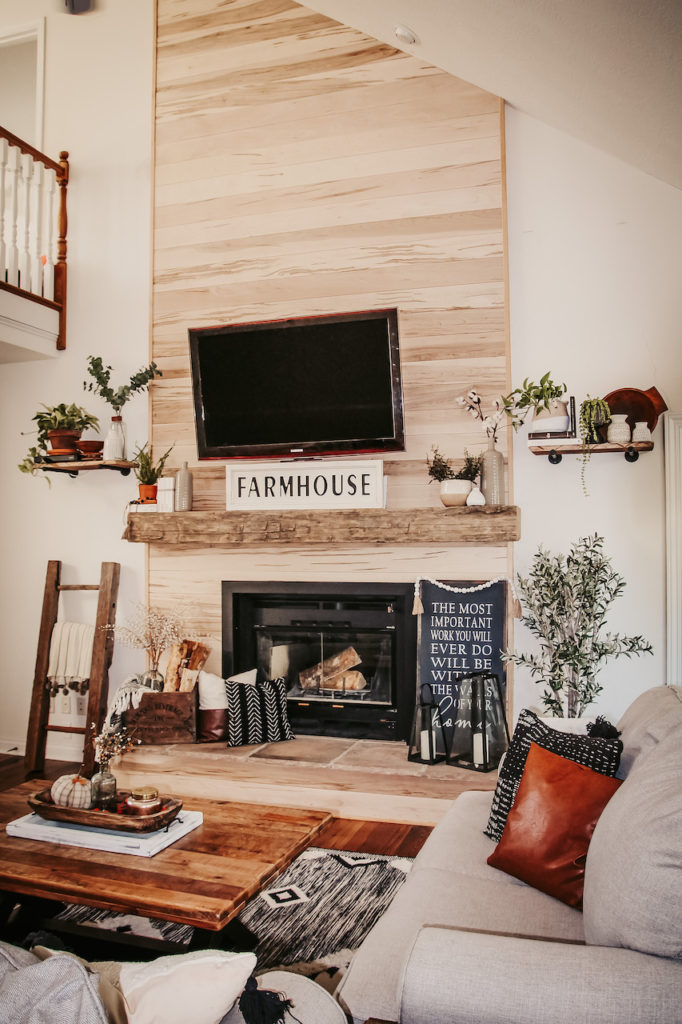
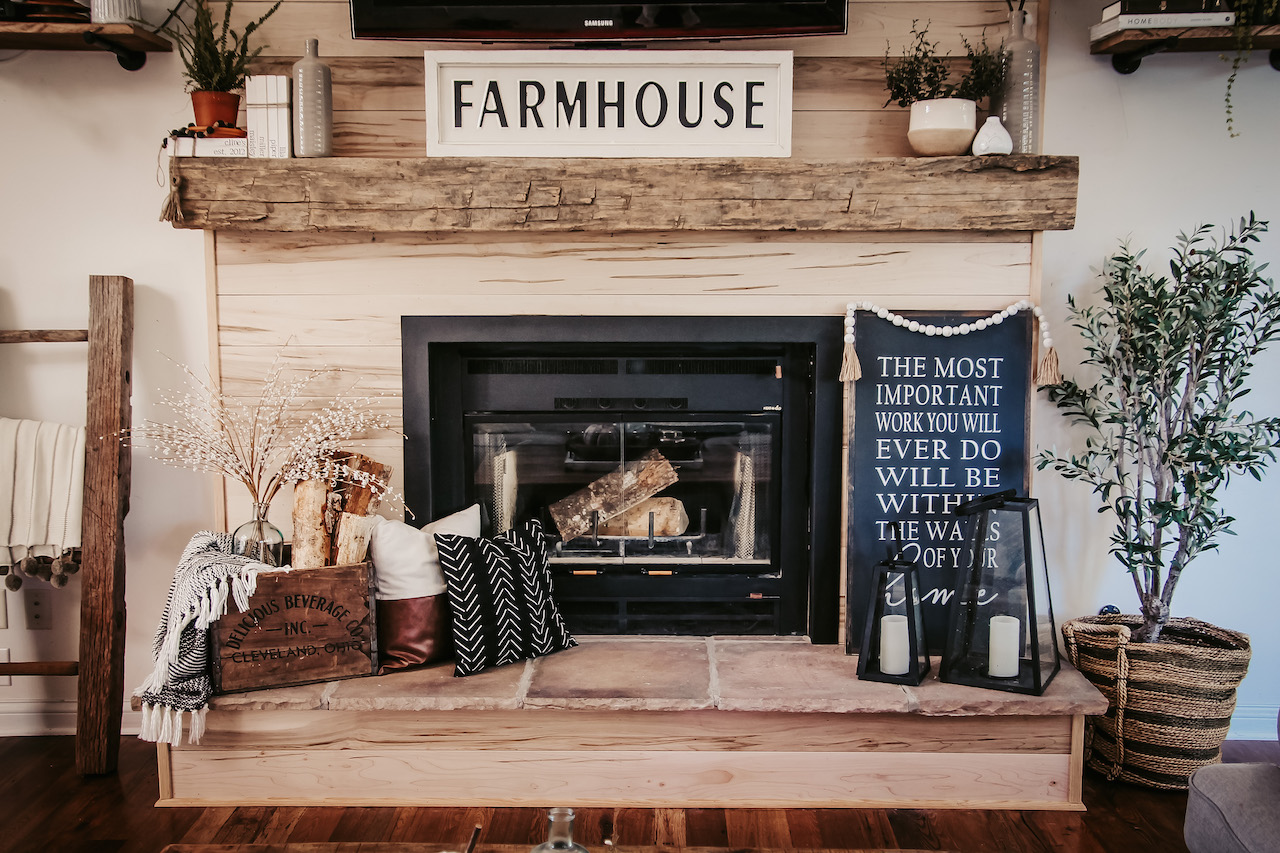
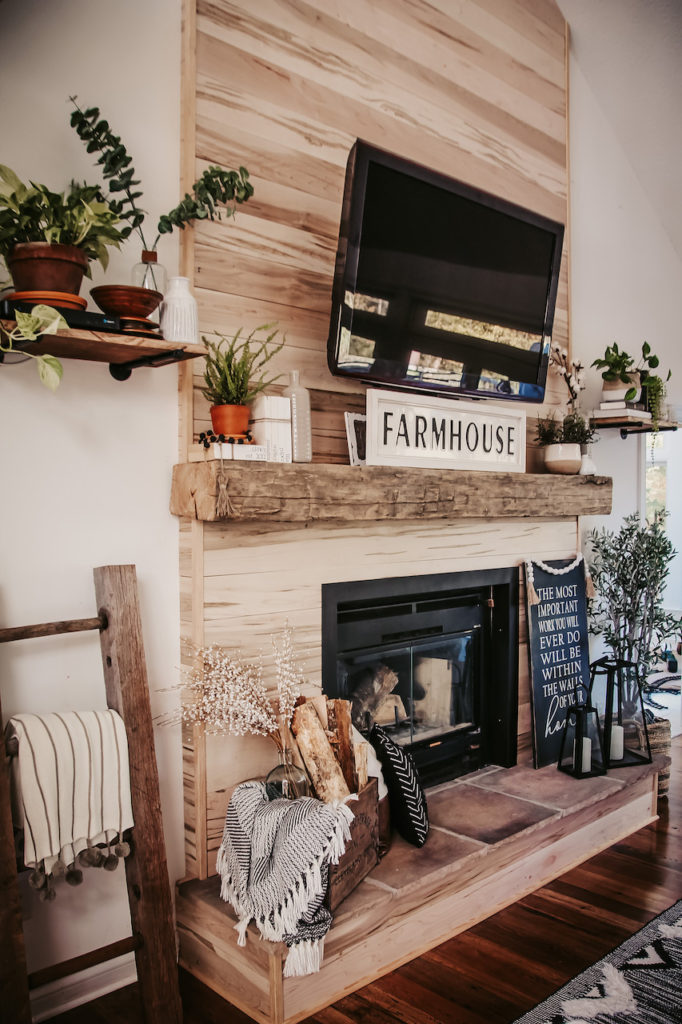
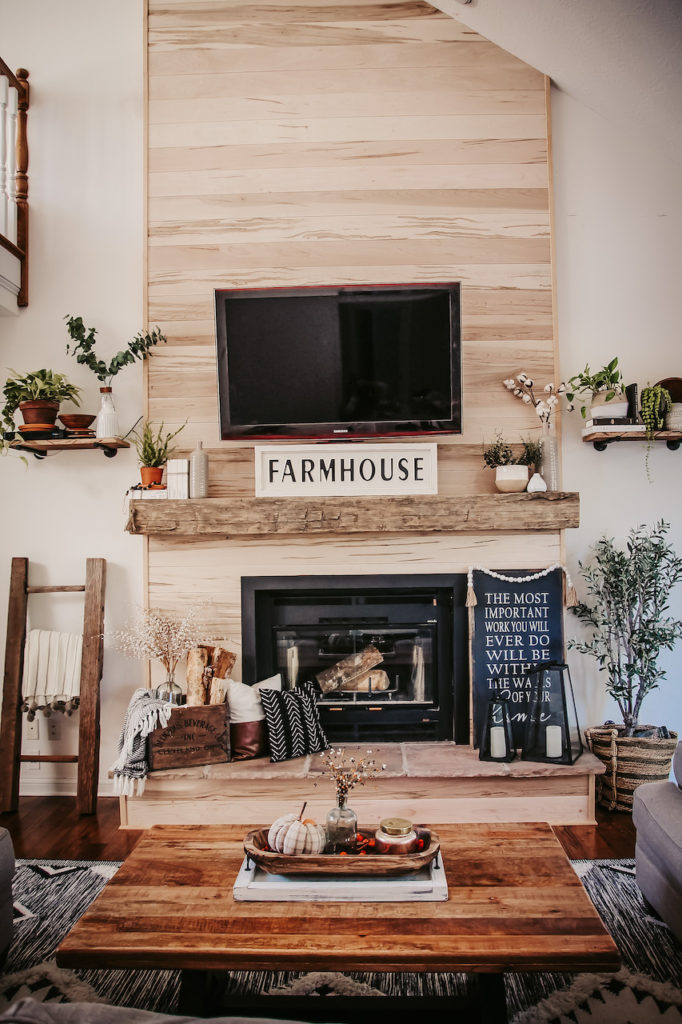
step 10: decorate farmhouse fireplace!
my favorite part of the project… seeing it all come to life!! whether you’re style is sleek + simple or cozy + rustic, add a variety of textures, plants {my fav!} and interesting pieces to bring it all together and showcase your personality.

ornamental moulding + our farmhouse fireplace
ornamental moulding and millwork offers a variety of products to take your DIY projects to the next level. from these decorative boards to faux beams and decorative moulding, you can shop for your next DIY project at lowe’s today or get some more inspiration here!
Zach did an amazing job! Looks amazing!!!
amazing hussy!
Impressive y’all. TV show-worthy! Get an agent and get on cable! Love y’all.
Just the coolest and totally my style! Wowzer 👍🏻👍🏻